
Add a News or Blog Article
Step 1
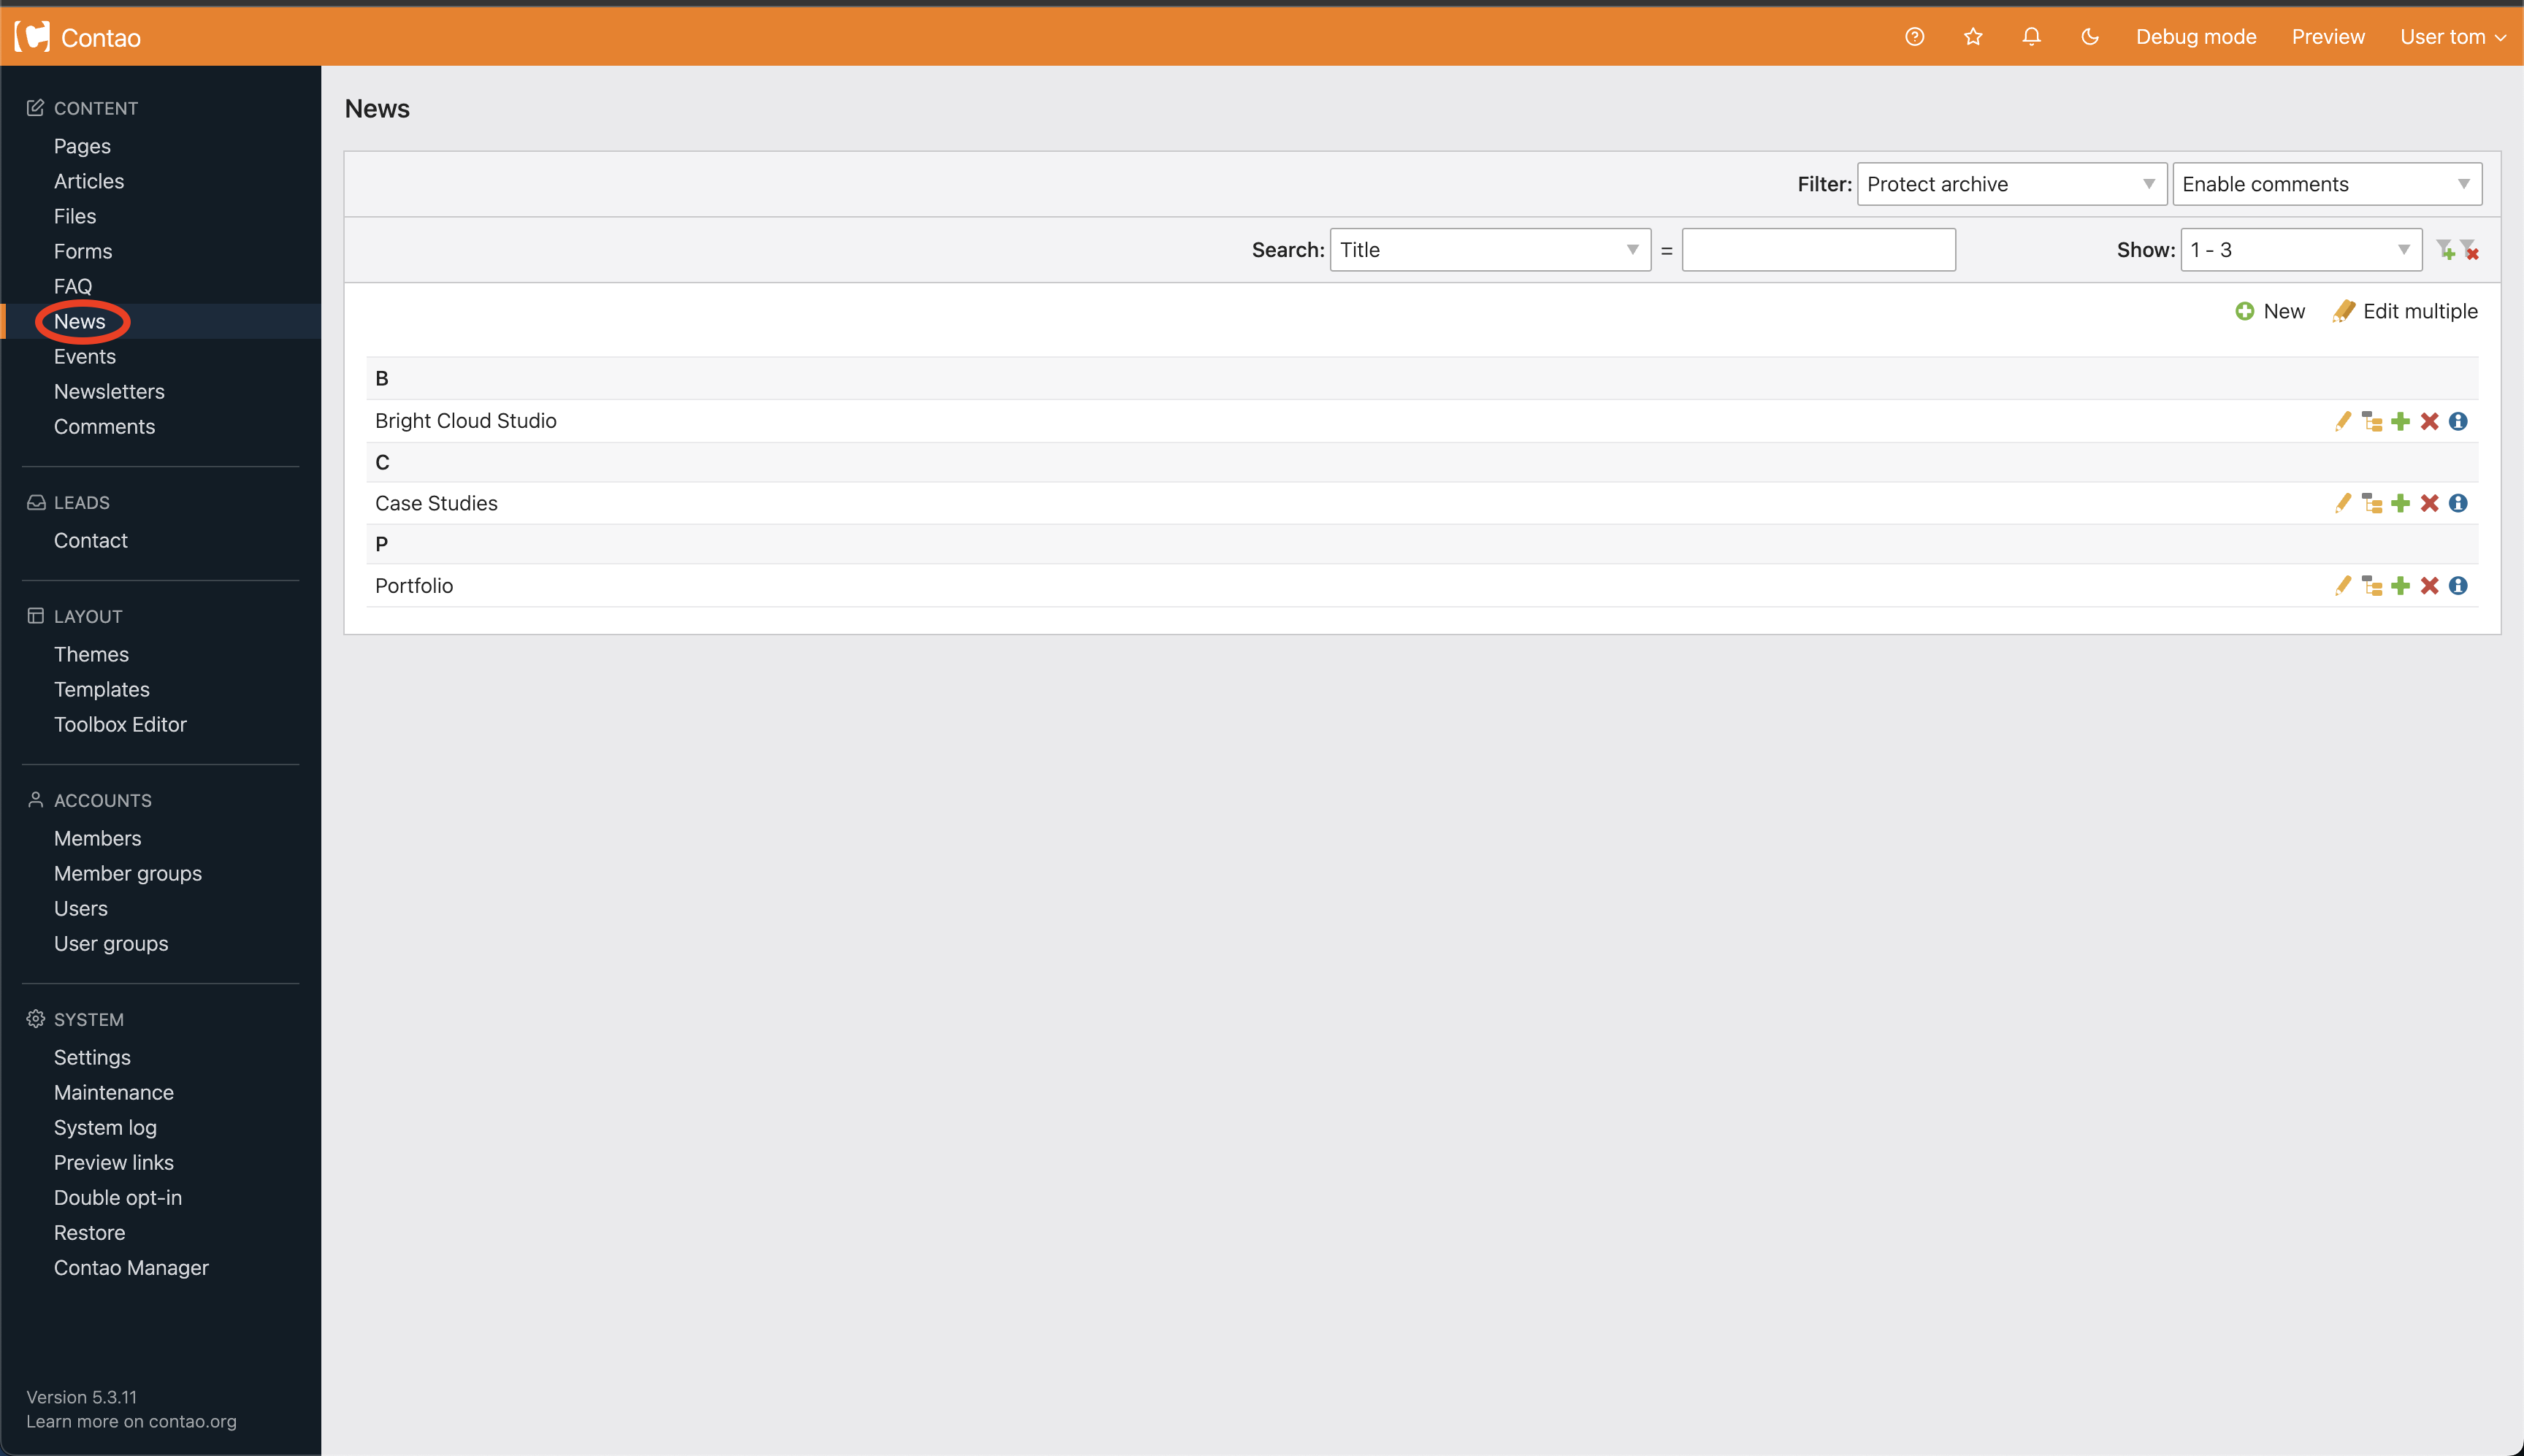
Choose News from the navigation (circled below).
Step 2
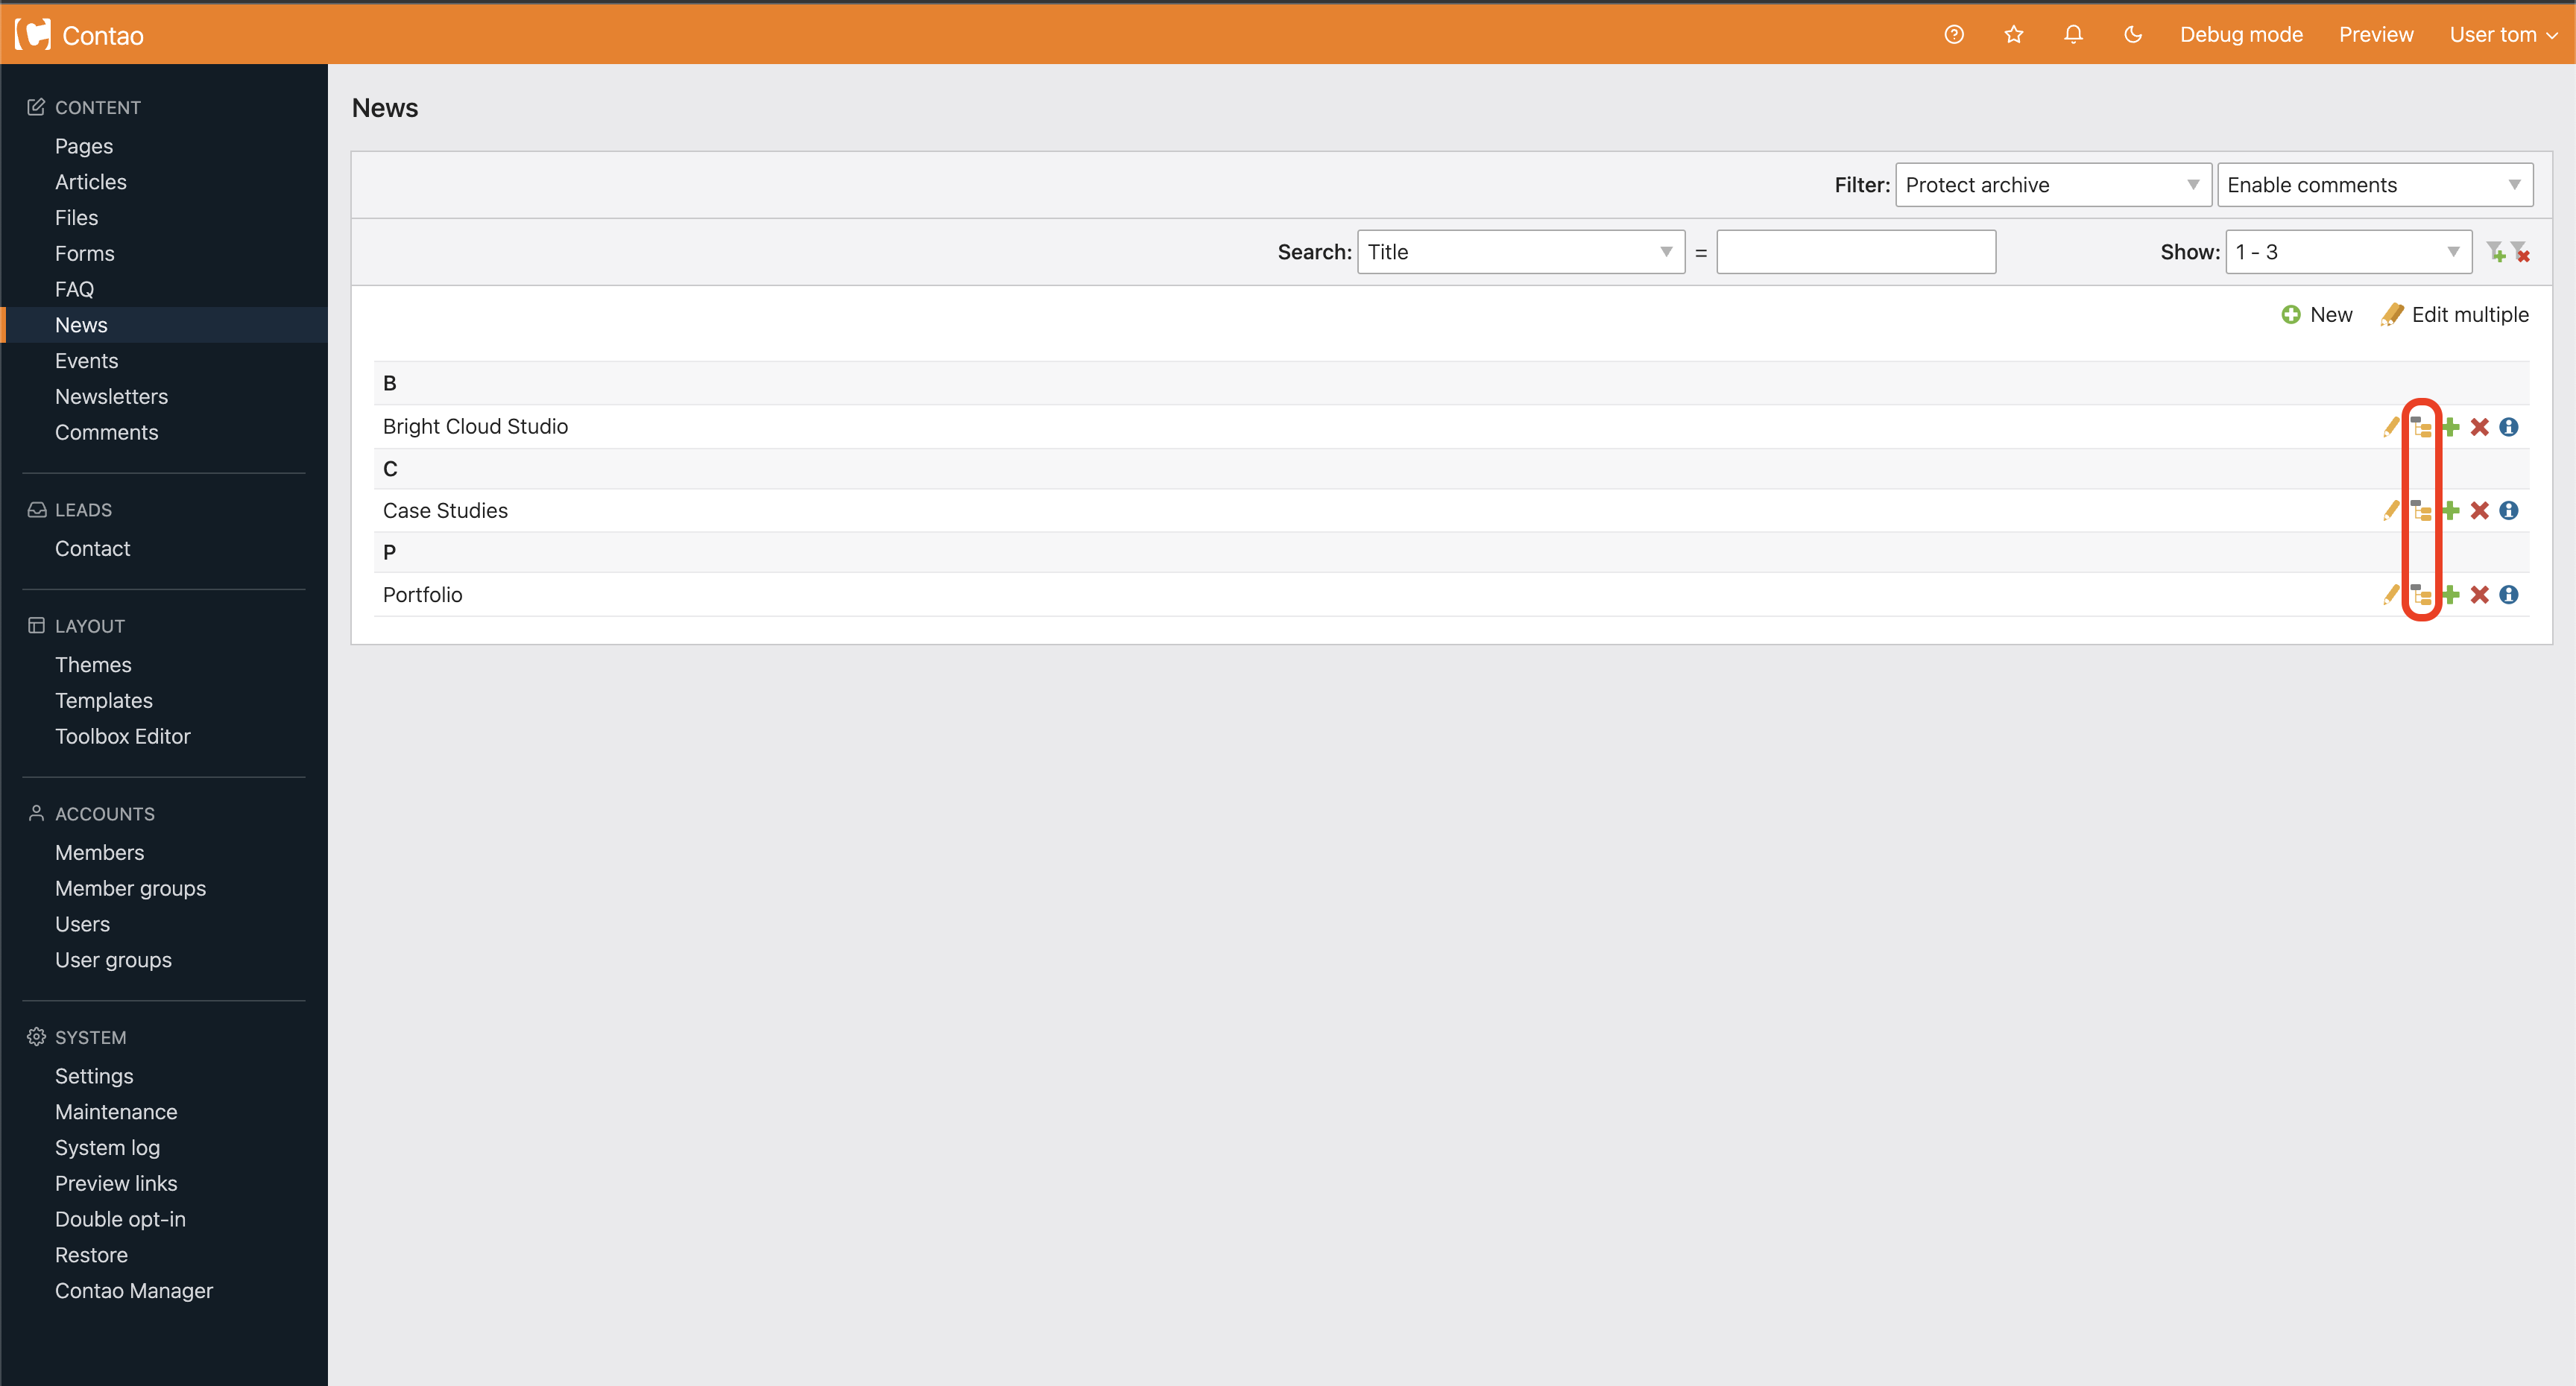
You will be brought to the news homepage. Go down to news and click on the edit icon (circled below).
Step 3
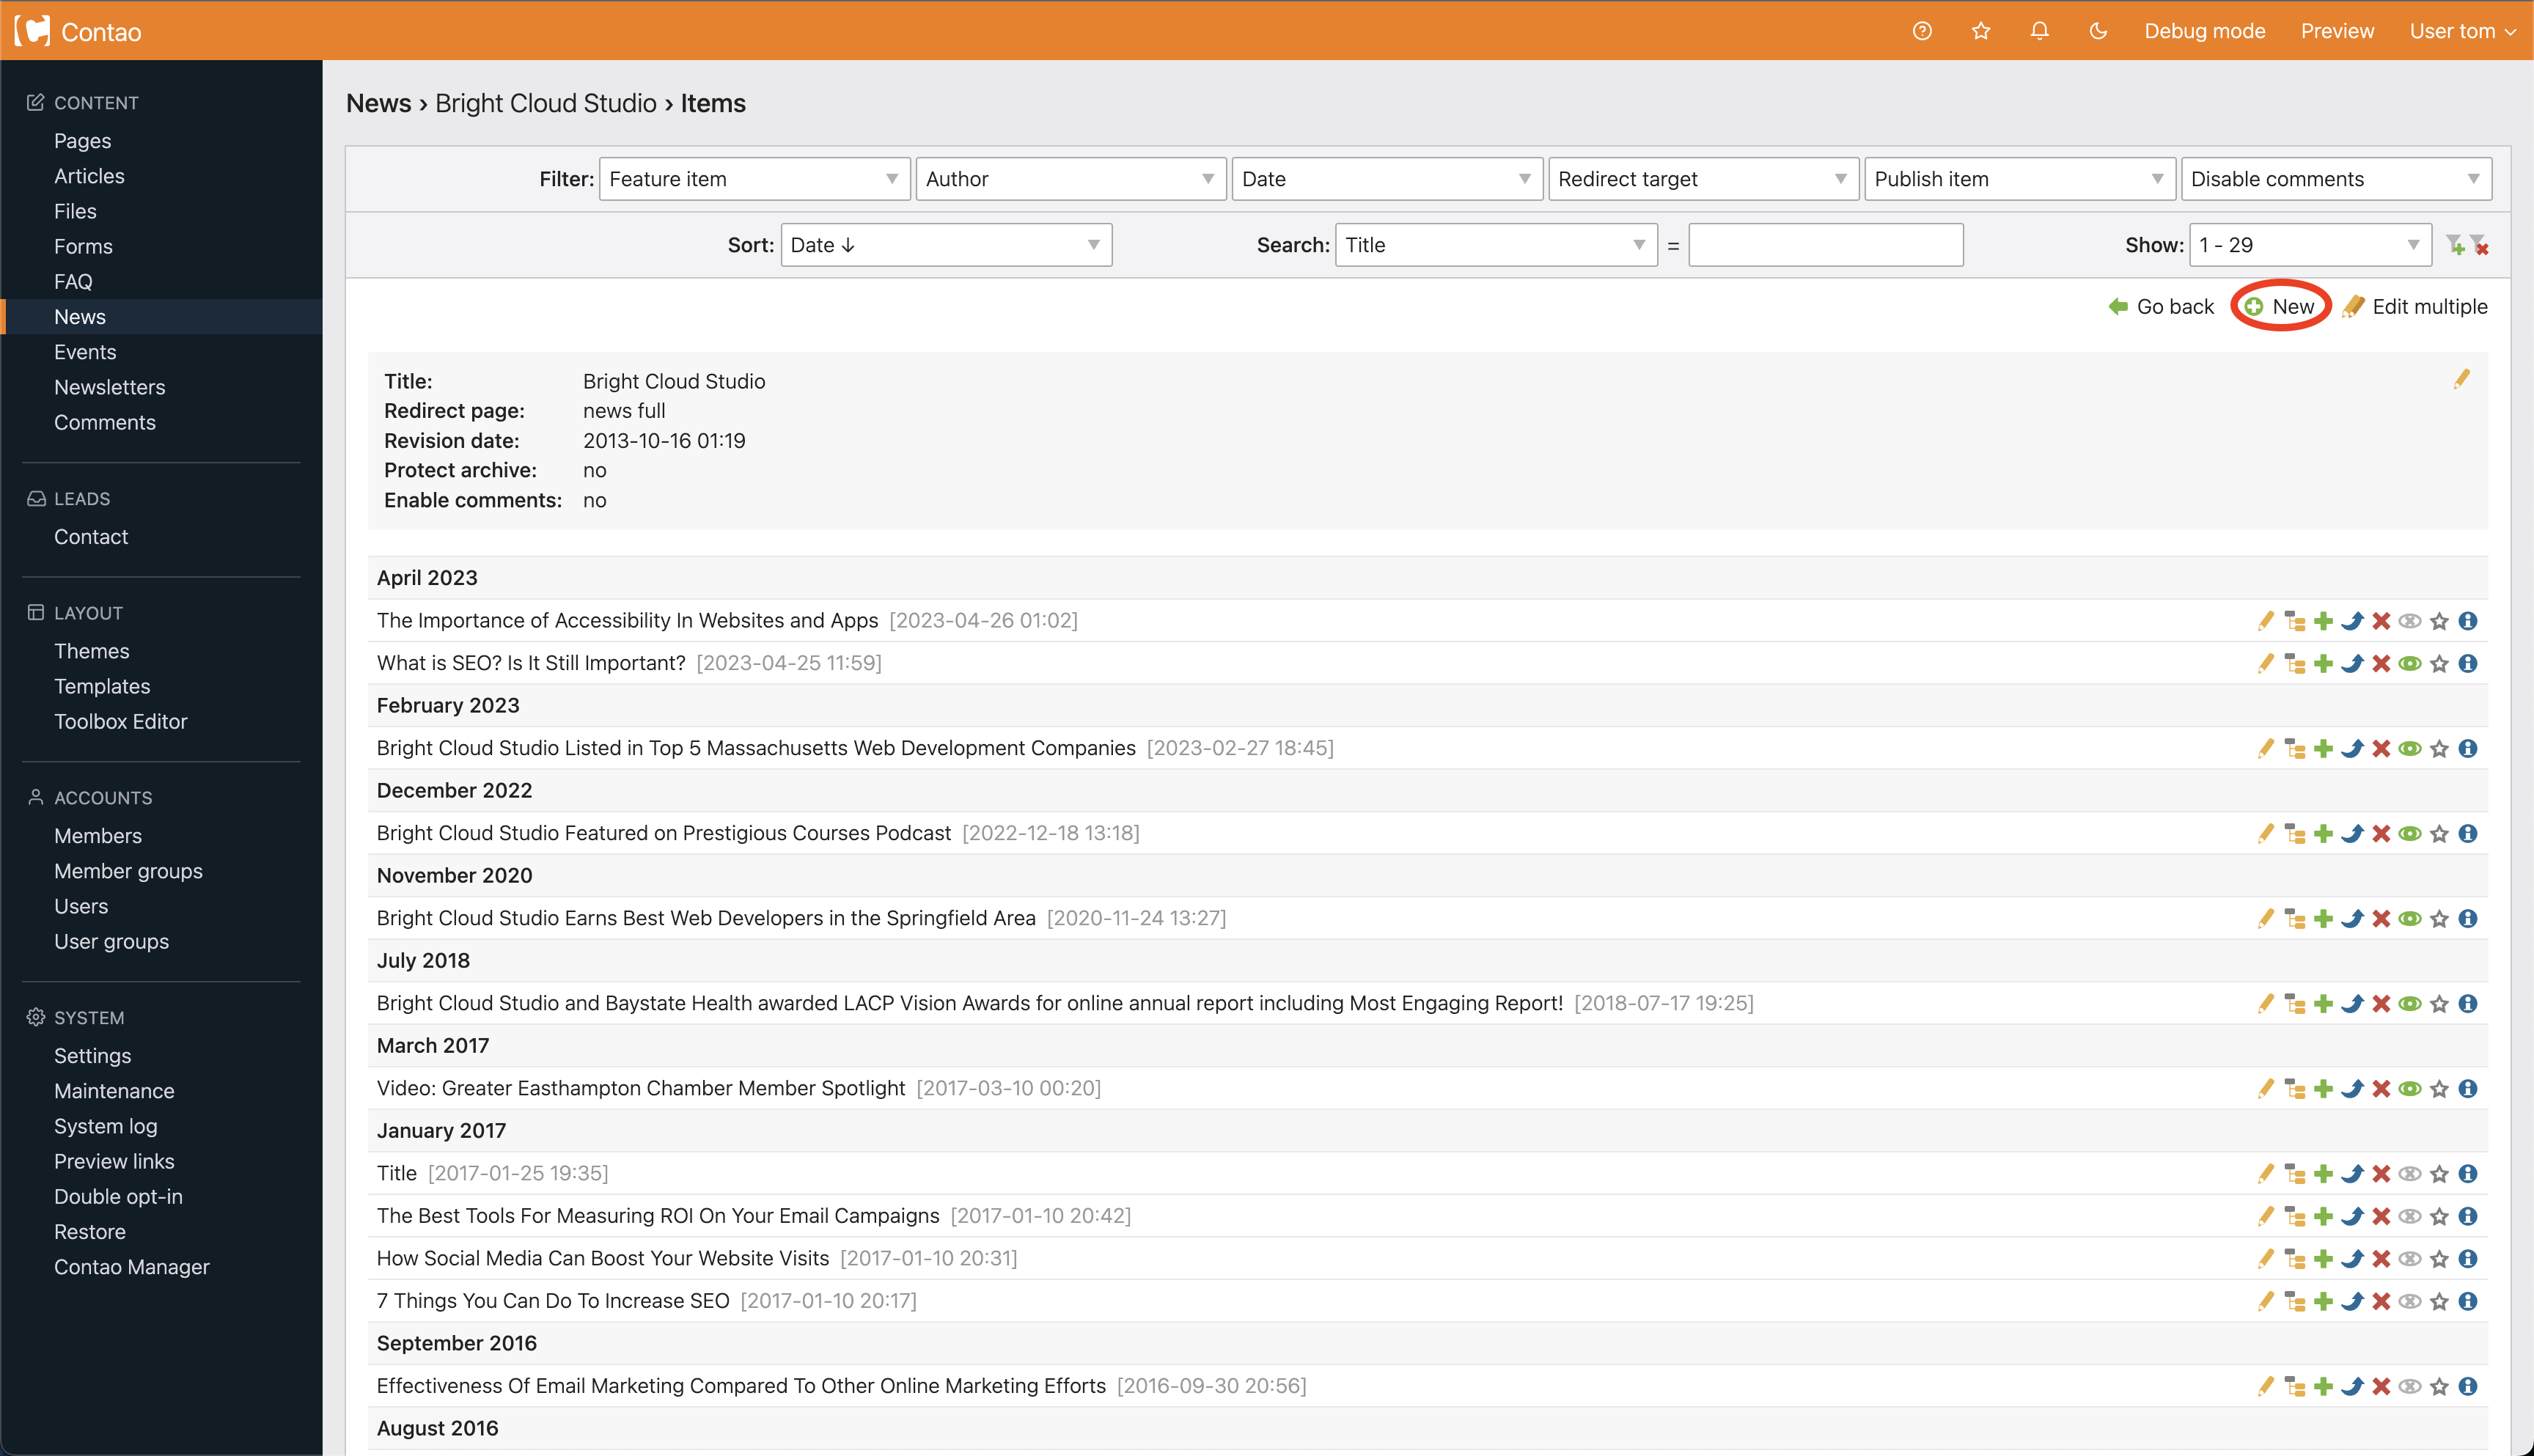
After choosing the edit icon, click new to add a news article (circled below).
Step 4
After clicking new article you are brought to a page to fill in information. Fill out each required field and choose save and close at the bottom of the page.
Title: Enter the title the news article.
News Alias: The name of the page in the url. There cannot be any spaces. Leave this blank for the system to create the alias from the title.
Date: Enter the date of the news article. The news articles are shown by date so the most recent one is archived at the top of the page. Keep this in mind when adding news articles and deciding what should be shown first.
Time: You can leave this as is. This will only be necessary if you have two articles that are on the same date. The latest one time-wise will show up first. (The times are not shown on the website but are used for ordering).
Subheadline: Some articles may have subheadlines. This is an optional field for certain websites.
News teaser: This is the paragraph that is shown in the news archive. This should be filled in with descriptive text so the reader knows what the article is about. This is what they see before clicking to read the full news story.
Add an image: You can add an image here.
Add an enclosure: Add one or more downloadable files to the news item.
Published: Turn this on or off to make the news story show up on your website.
Show from: Do not show the news item on the website before this day.
Show to: Do not show the news item on the website after this day.
Step 5
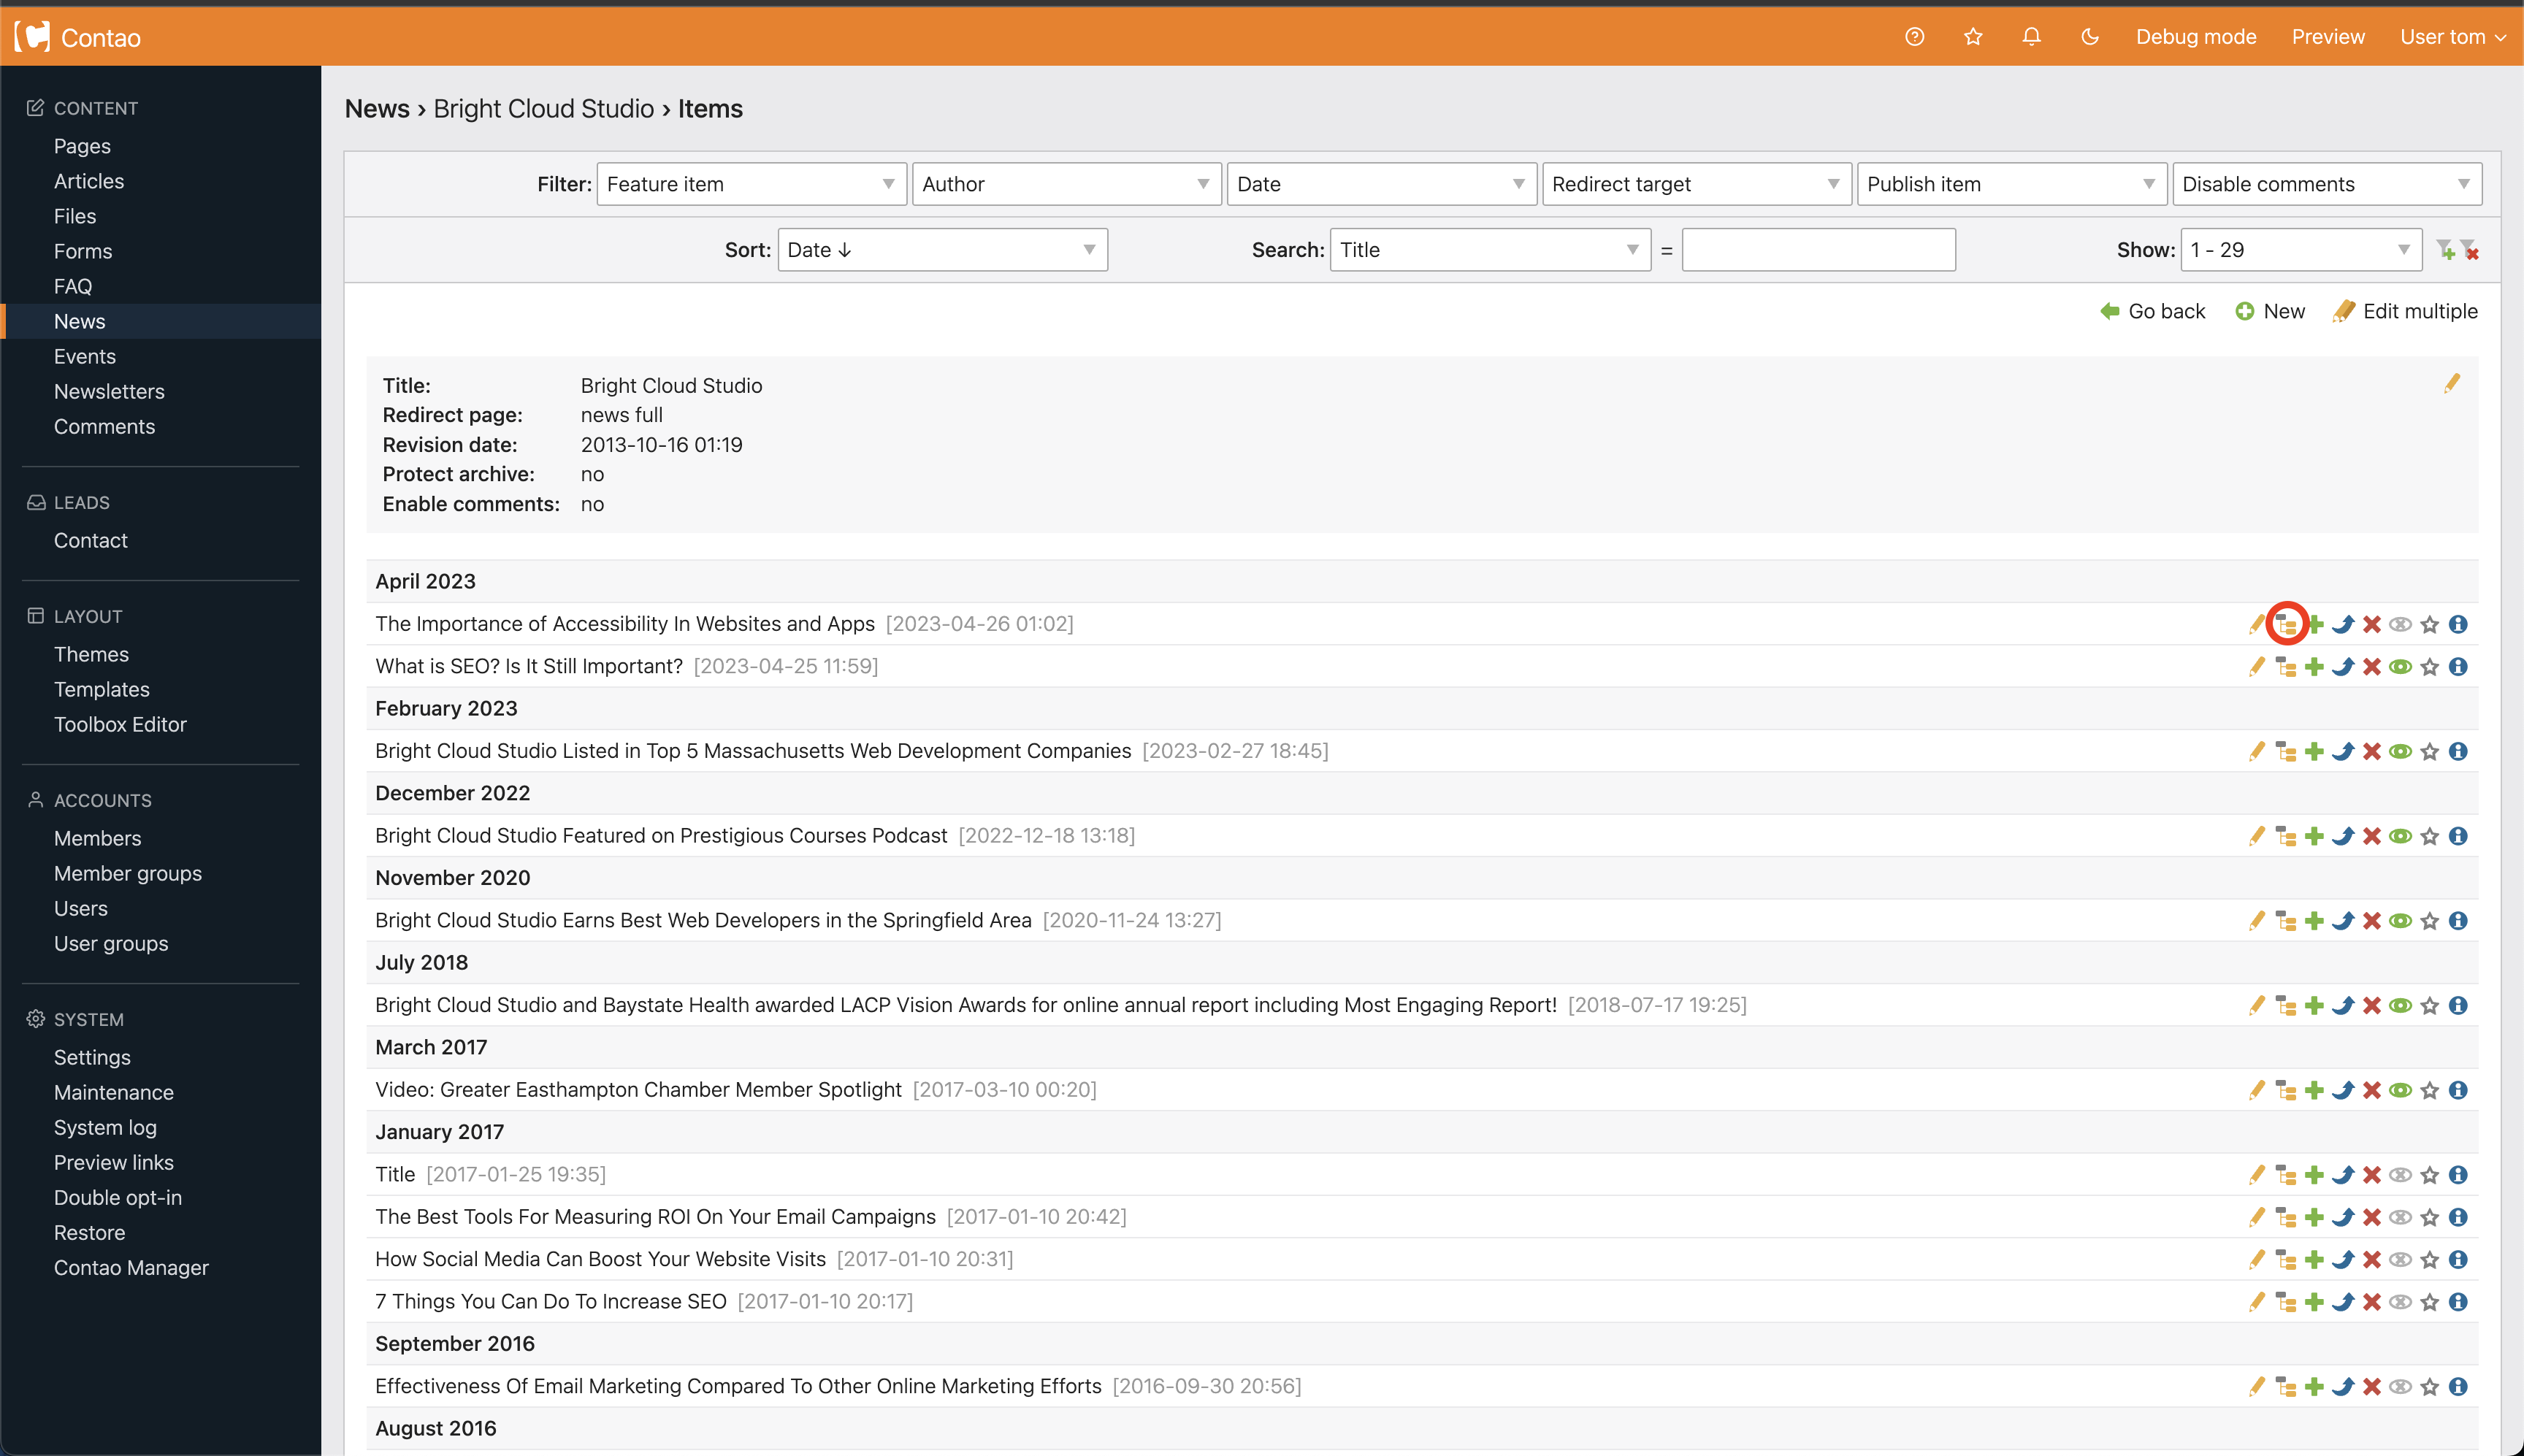
After filling in the information, click on the pencil to start editing the New Item (circled below).
Step 6
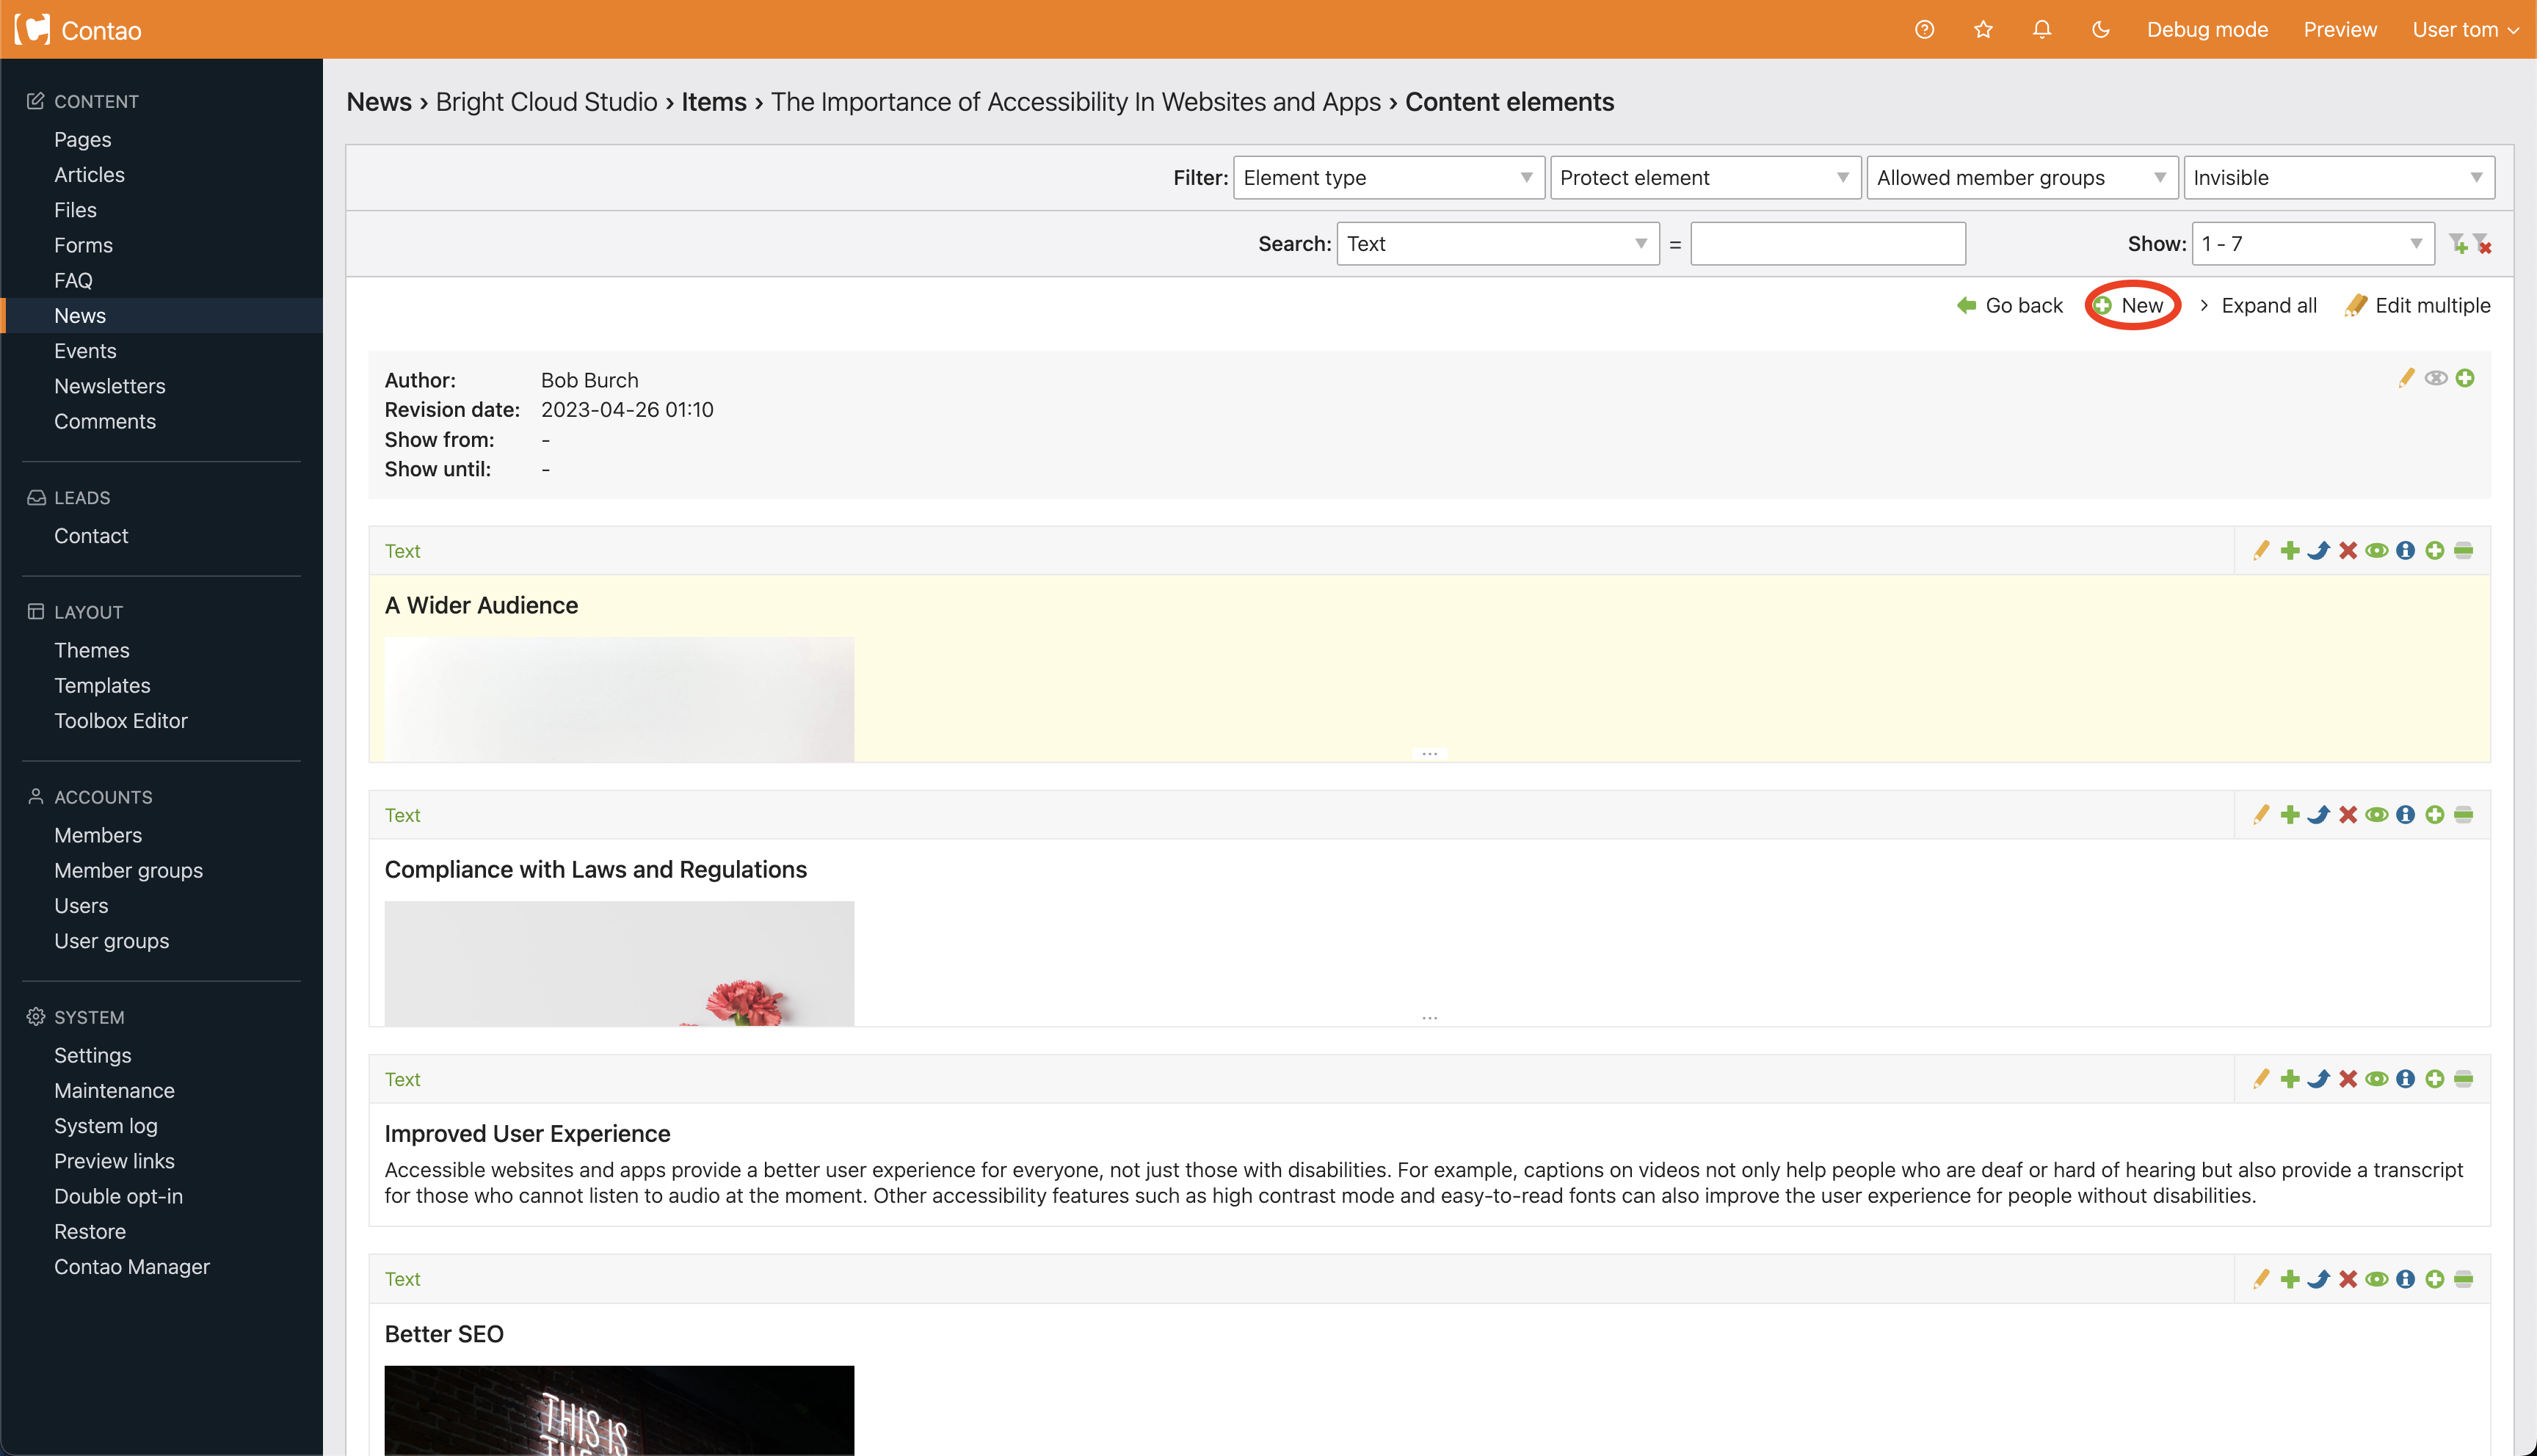
Click New Element to add content to news article (circled below).
Step 7
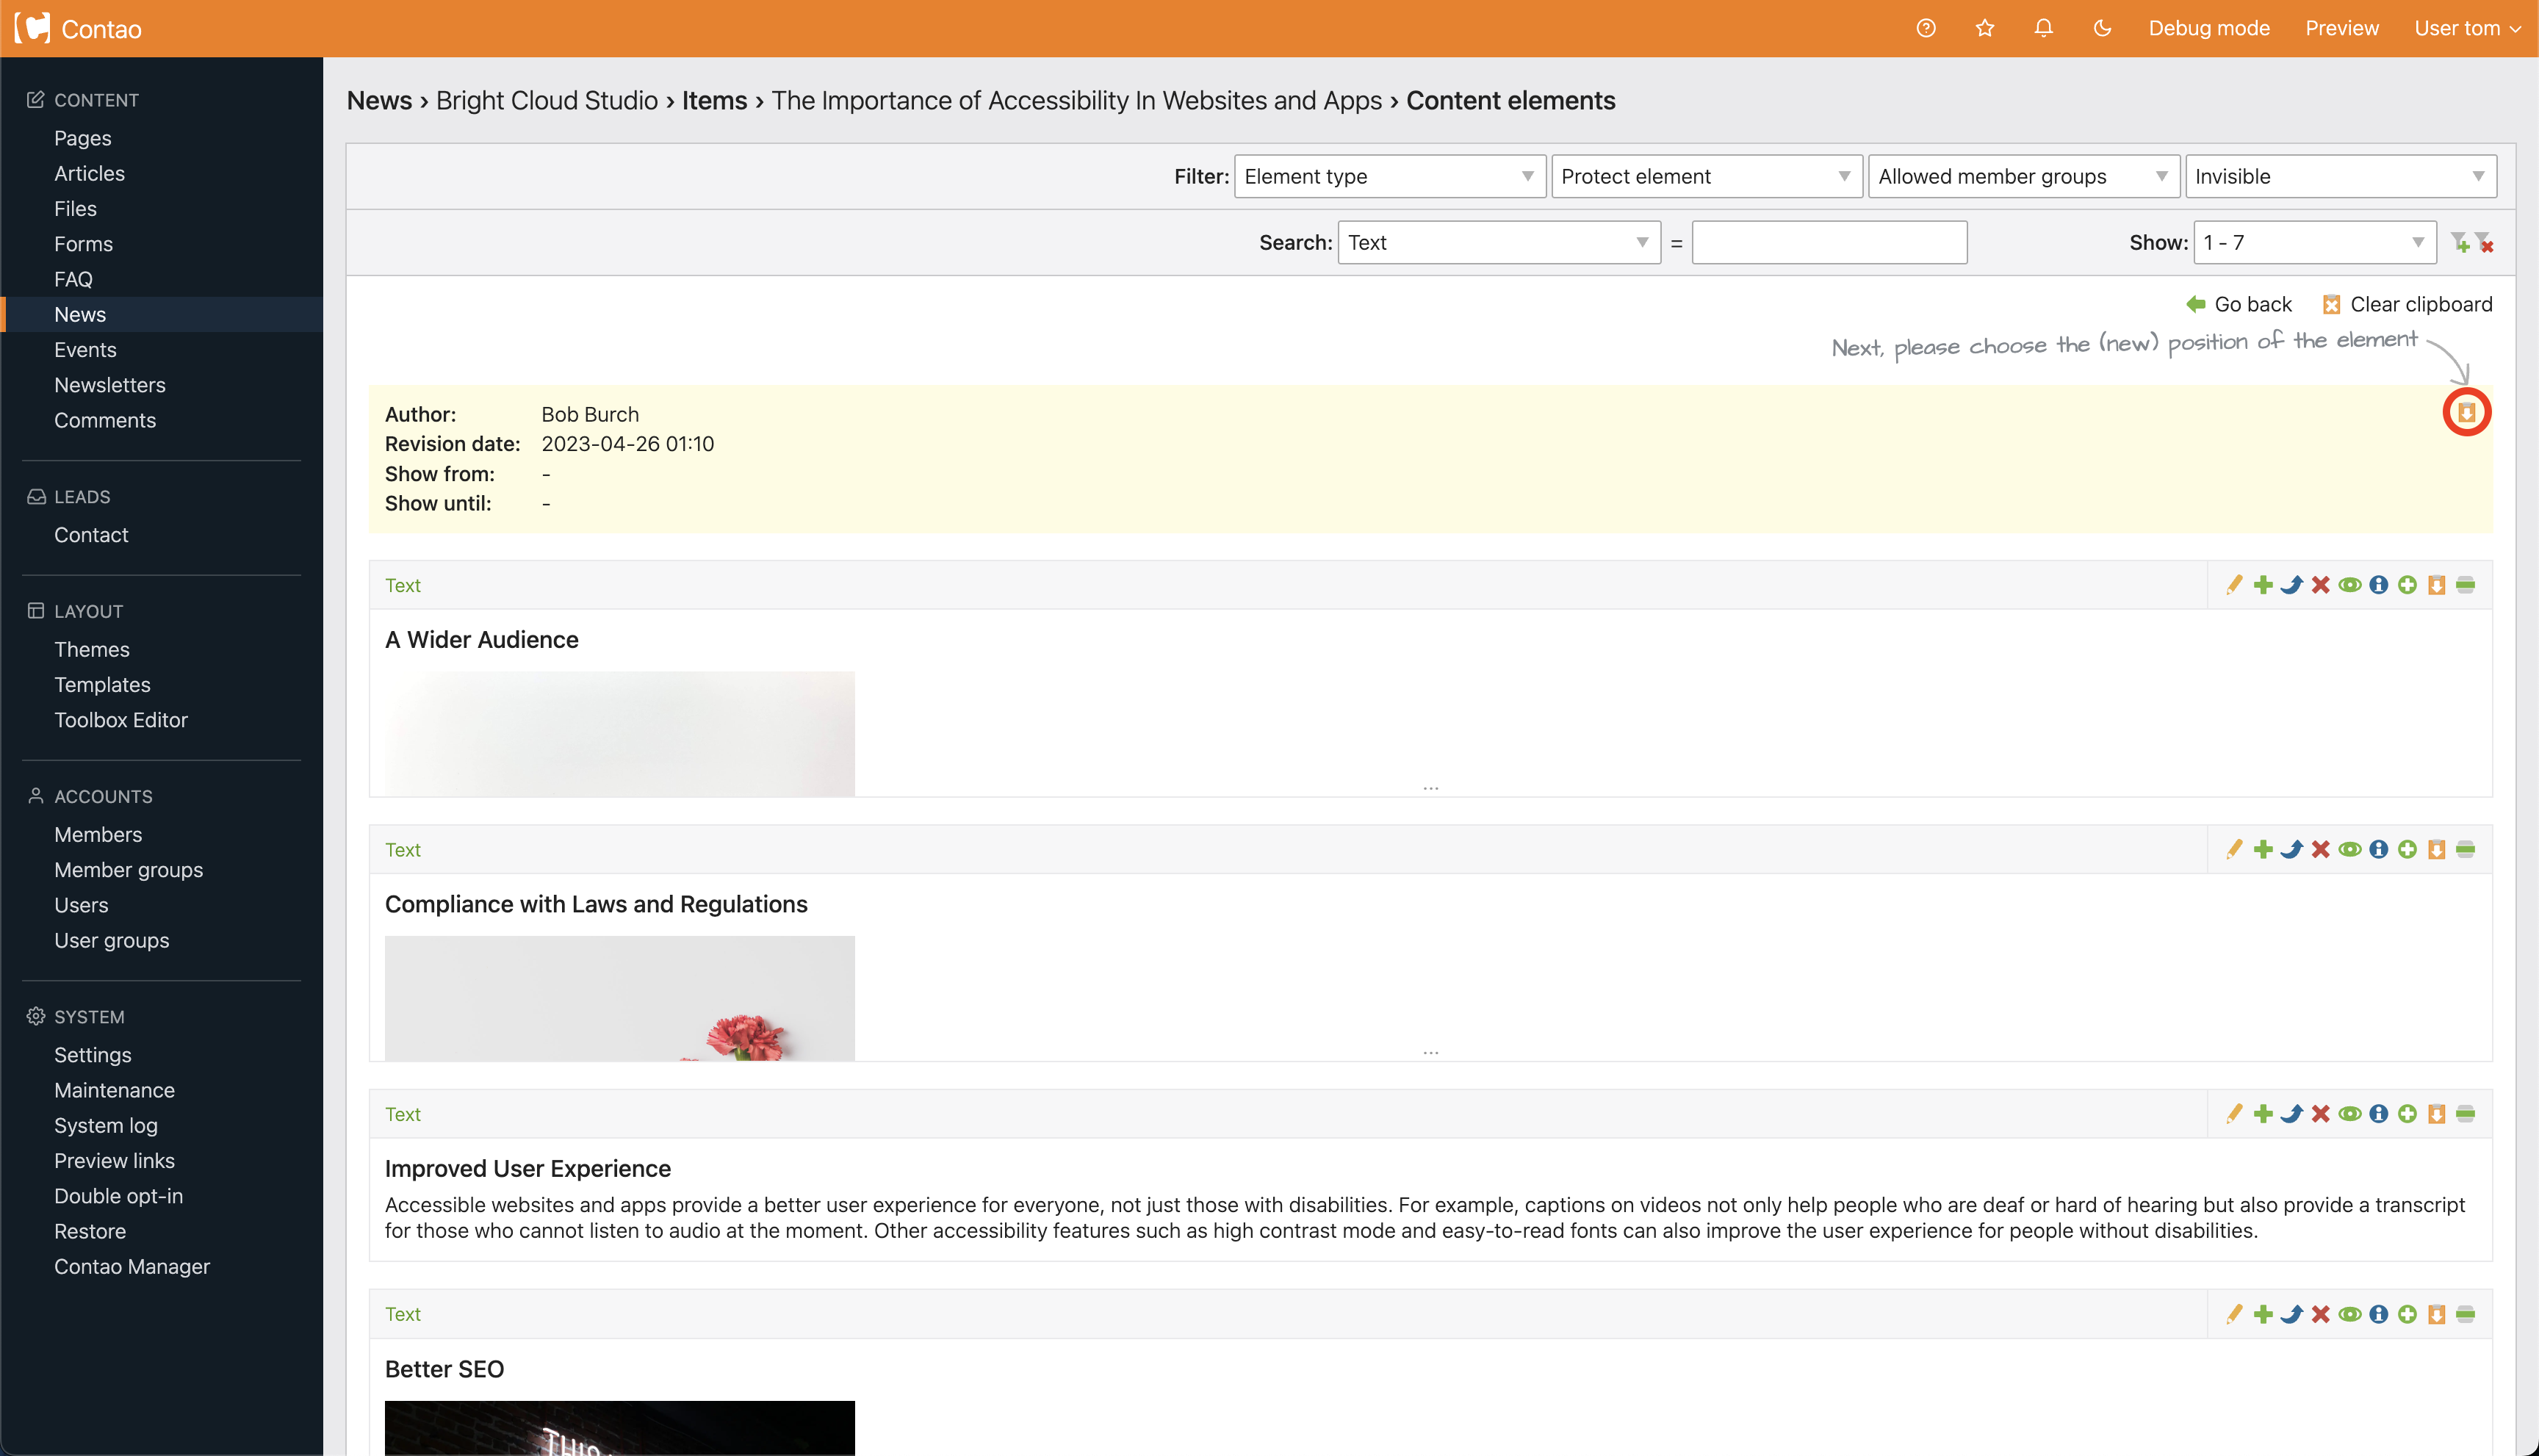
Insert element into the news article (circled below).
Step 8
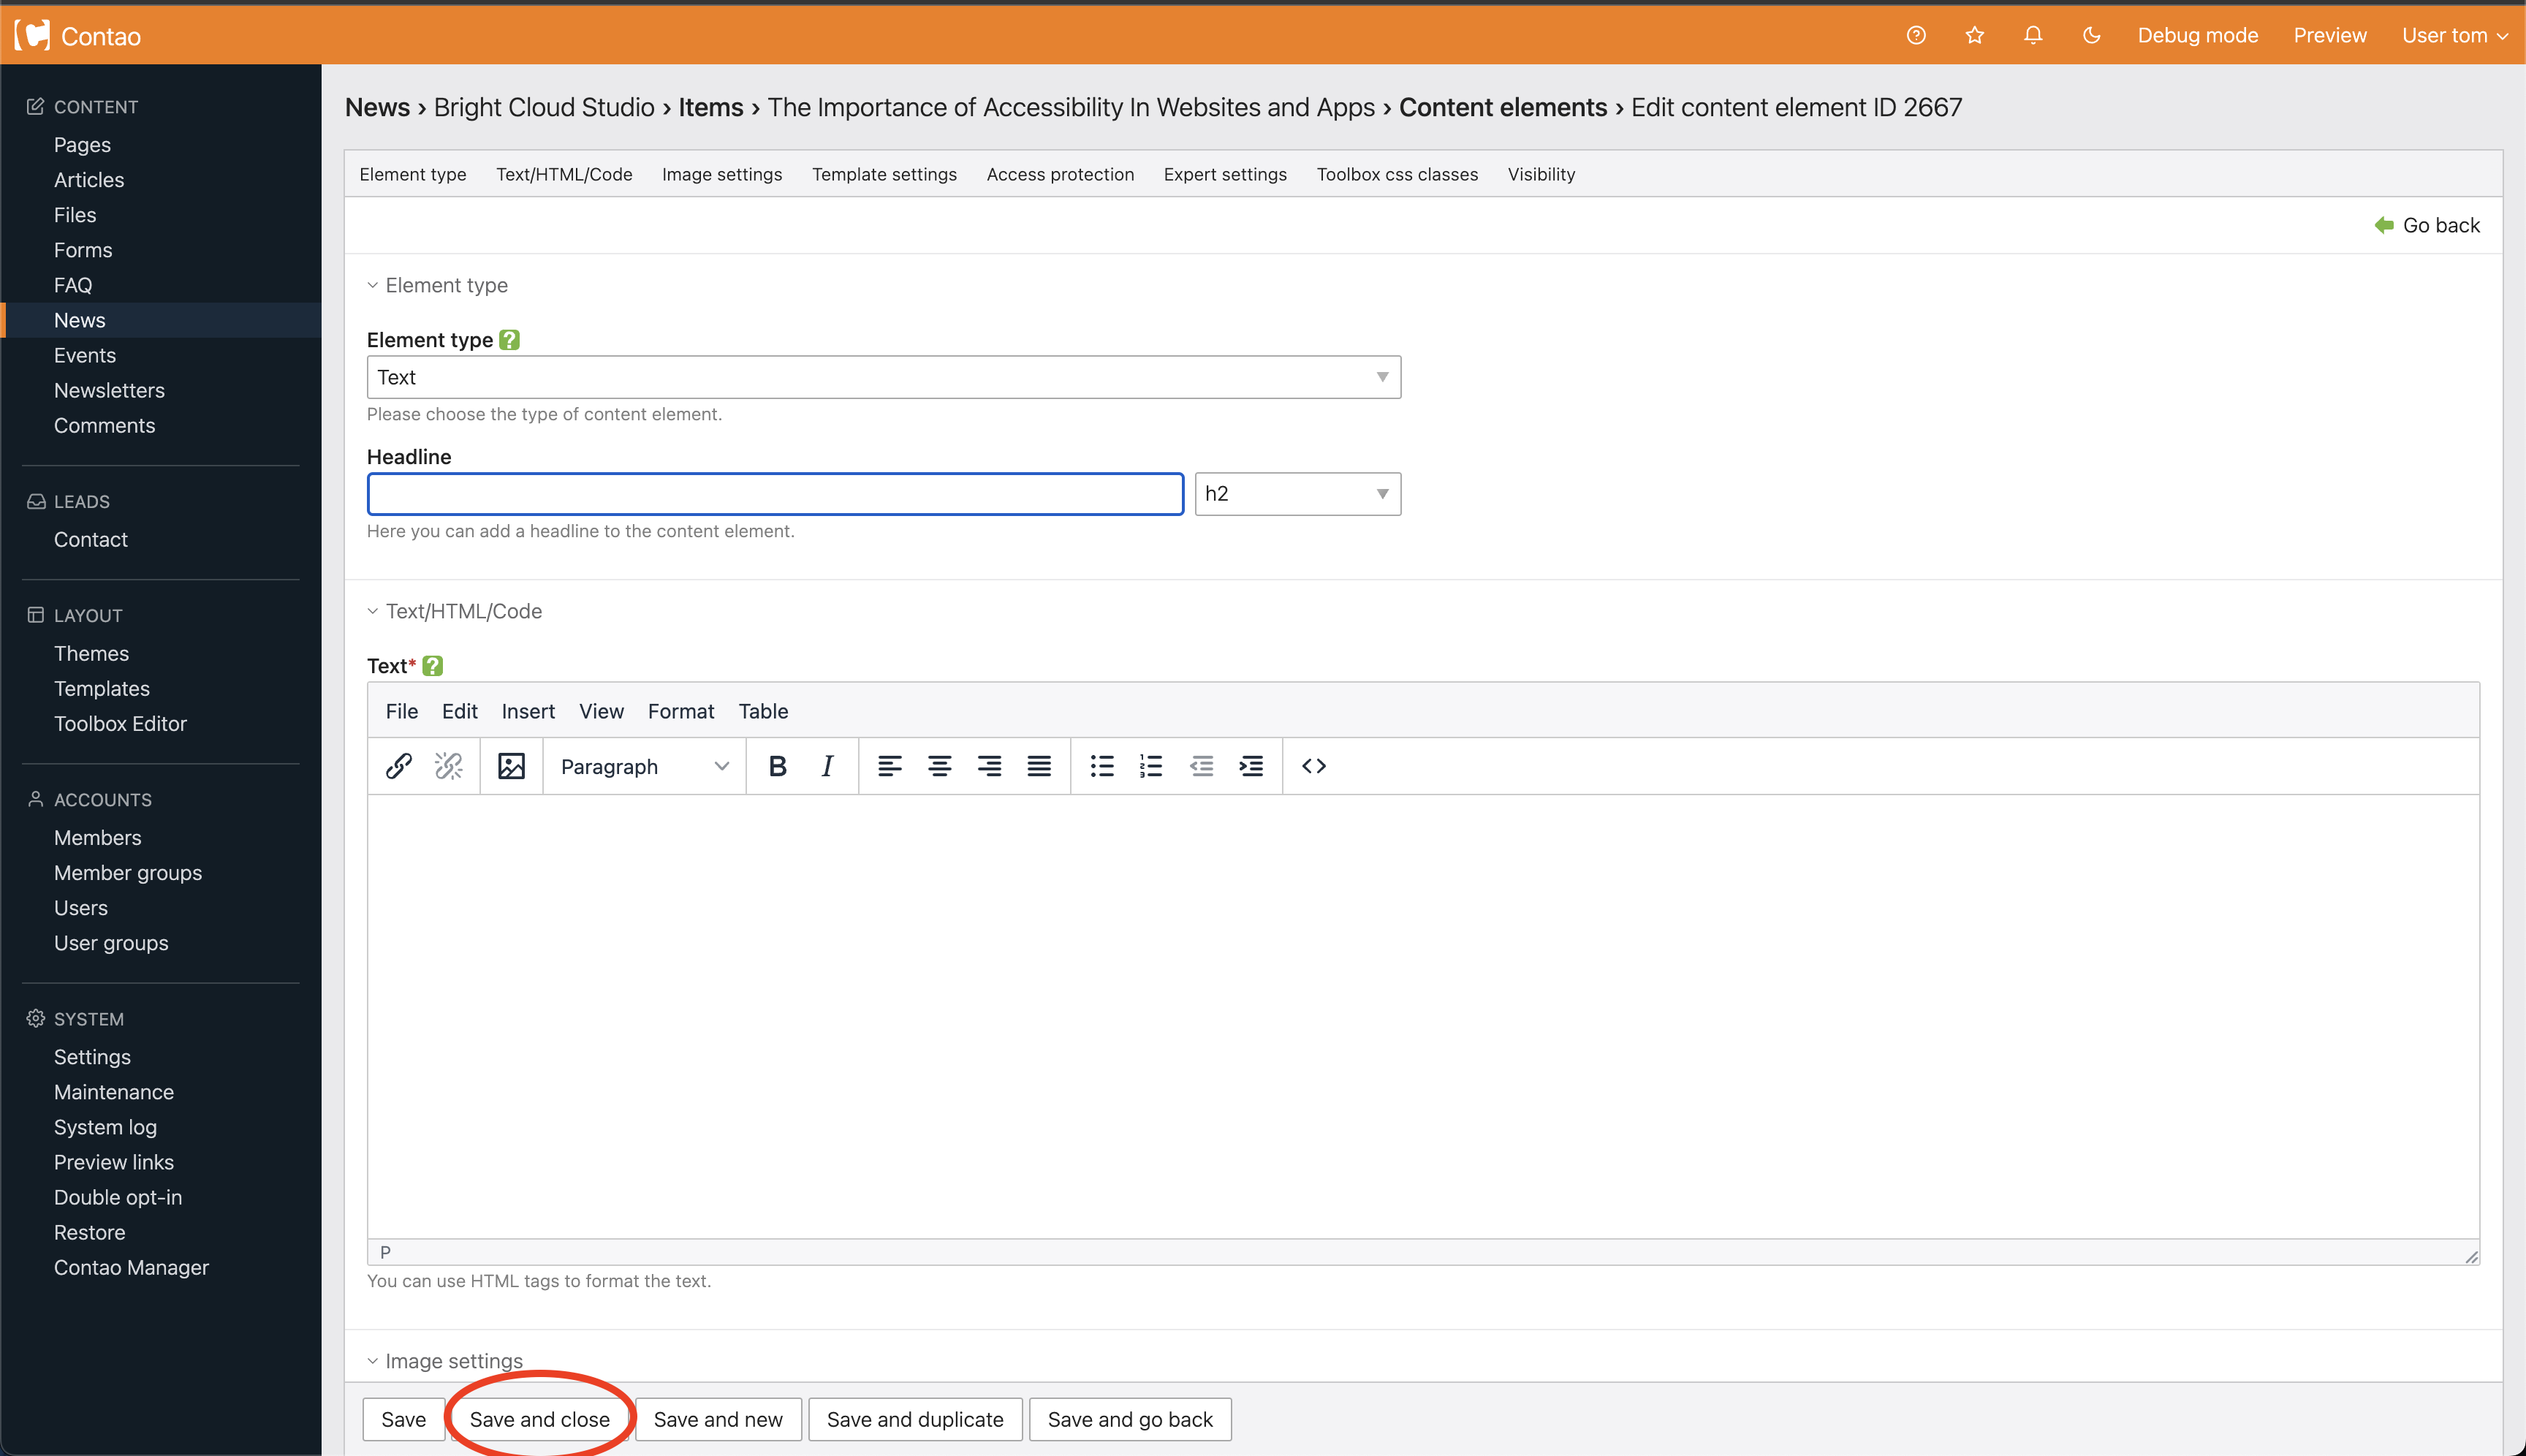
Fill in the information and then click on save and close (circled below).
For more information on the types of elements click here