Content elements are an easy and intuitive way to create content in your articles. Having separate elements inside your article allows you to easily organize and edit the content on your site.
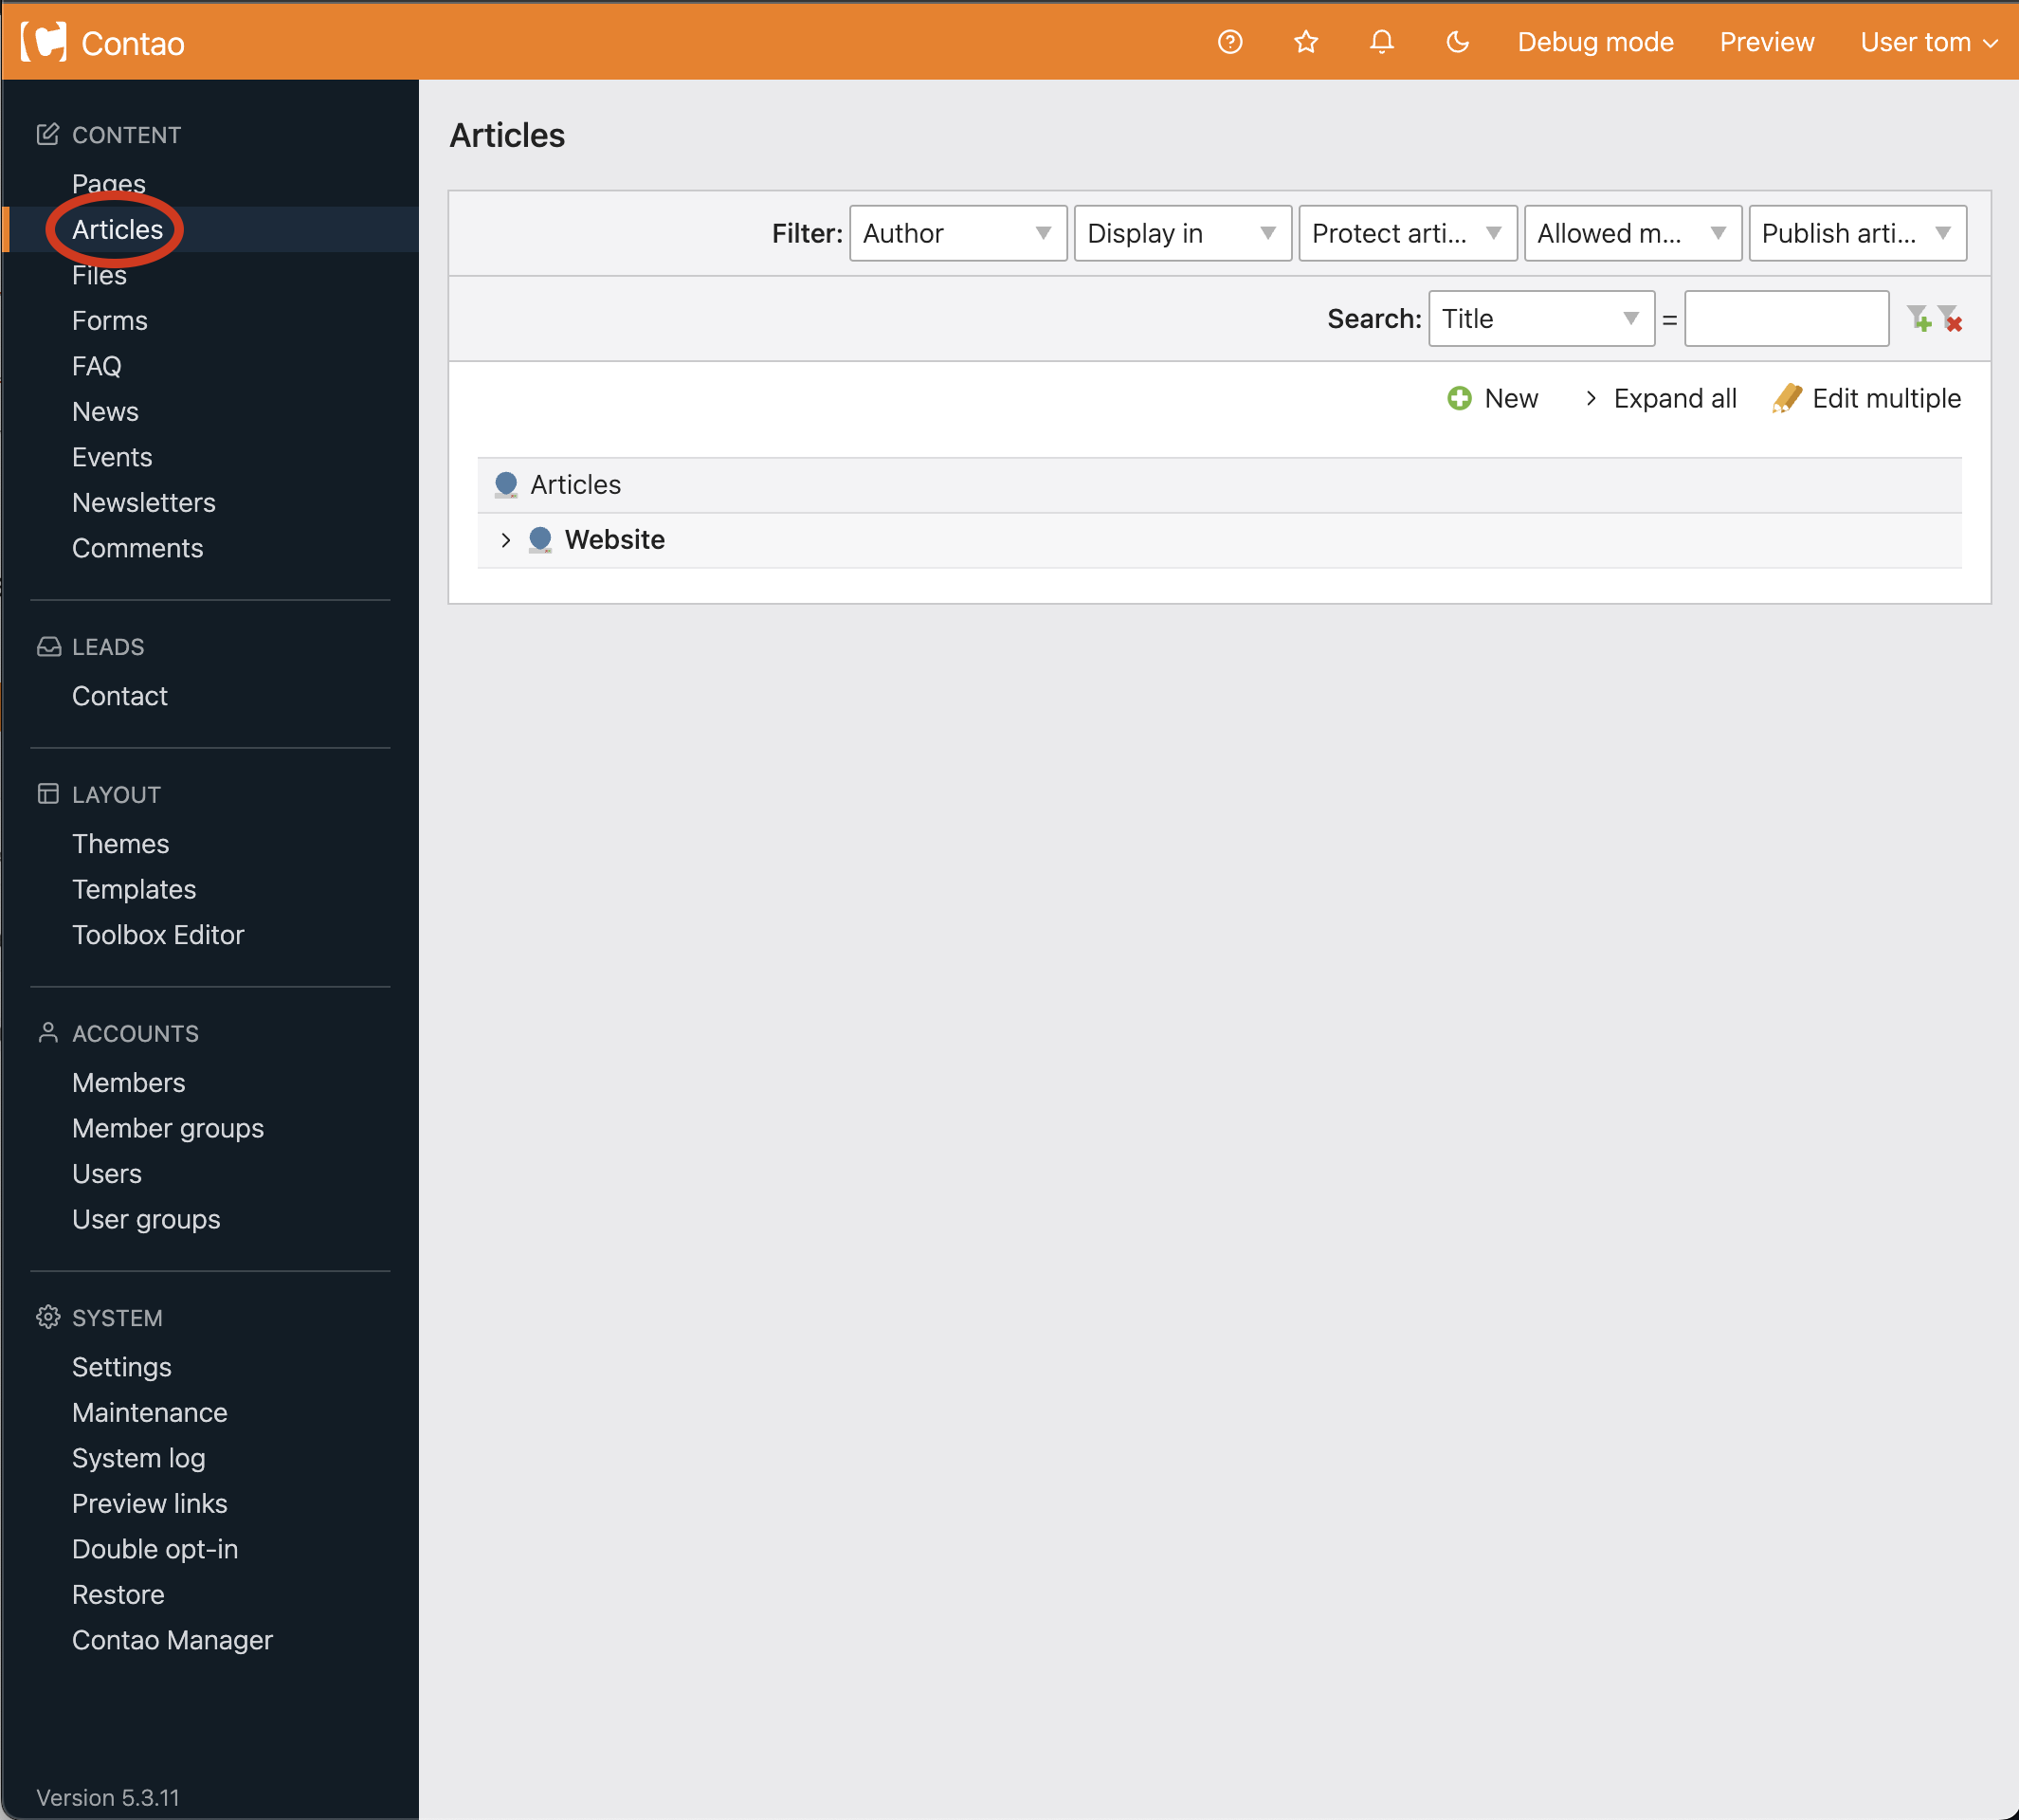
Step 1
Choose Articles from the navigation (circled below).
Step 2
You will be brought to the Articles homepage. From here, choose the article you wish to add your element to by clicking the icon next to the appropriate article (circled below).
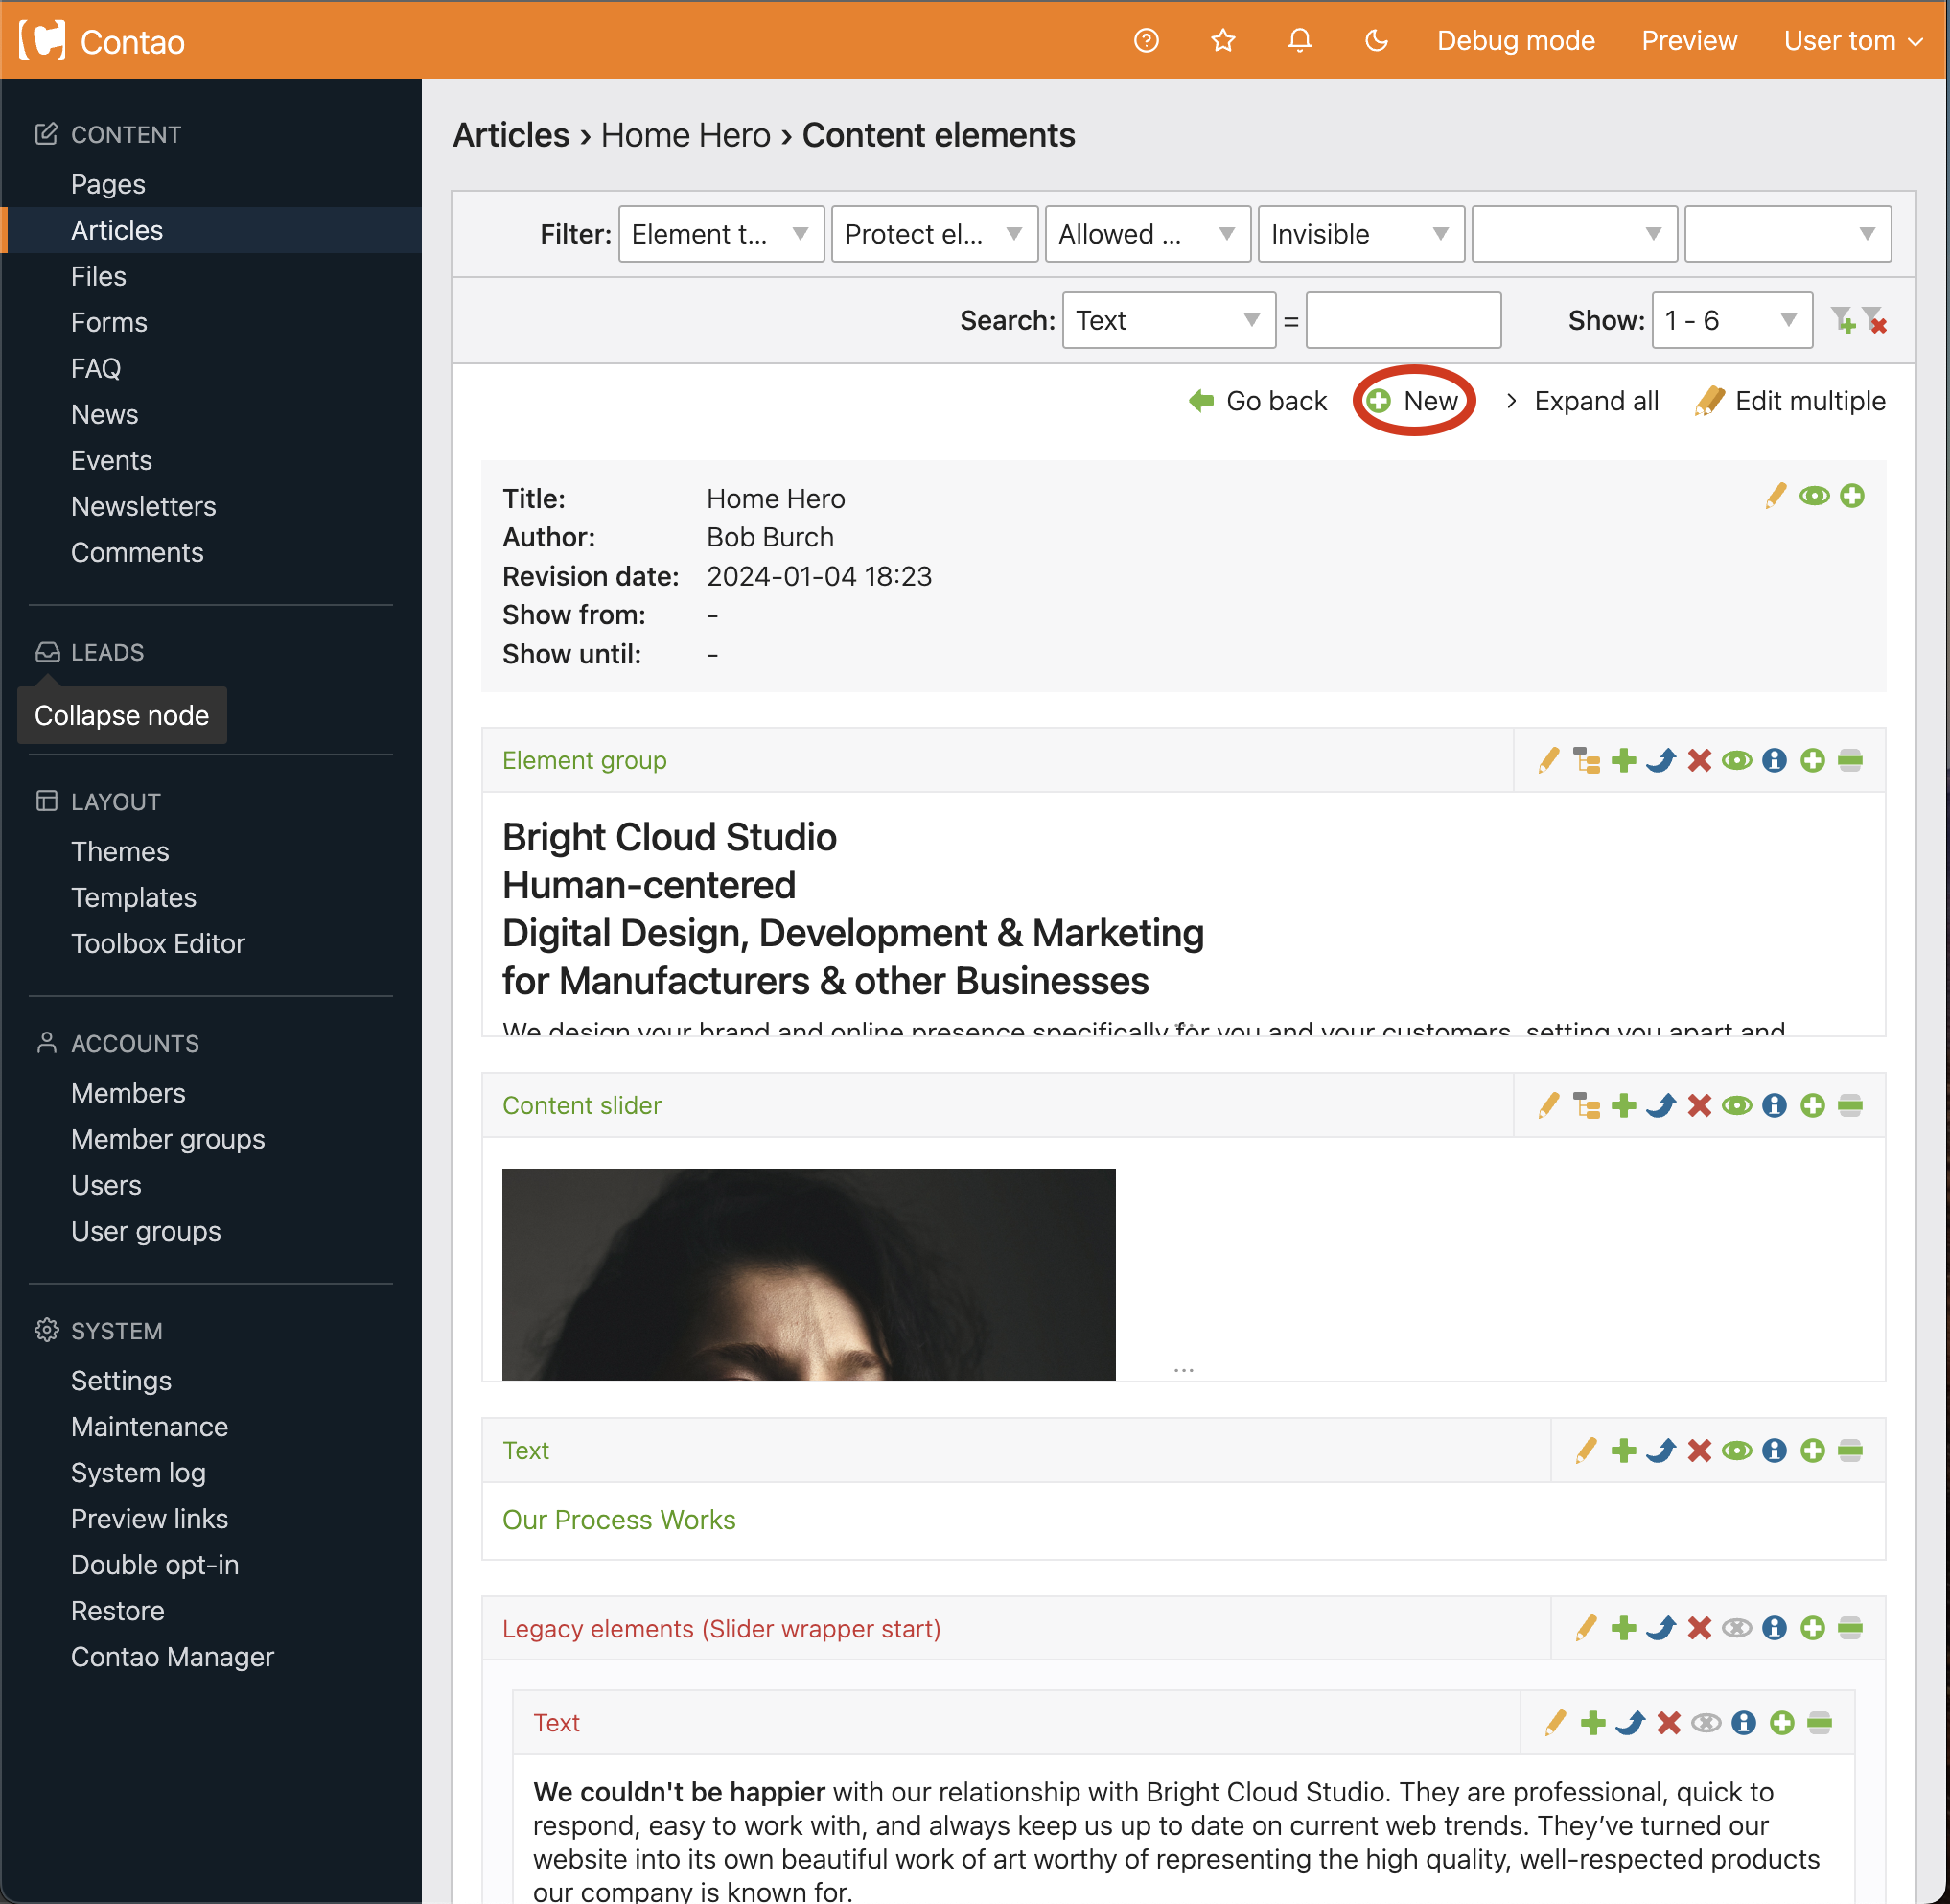
Step 3
Once you have chosen the correct article, you will be brought to the elements homepage. Create a new element by choosing new (circled below).
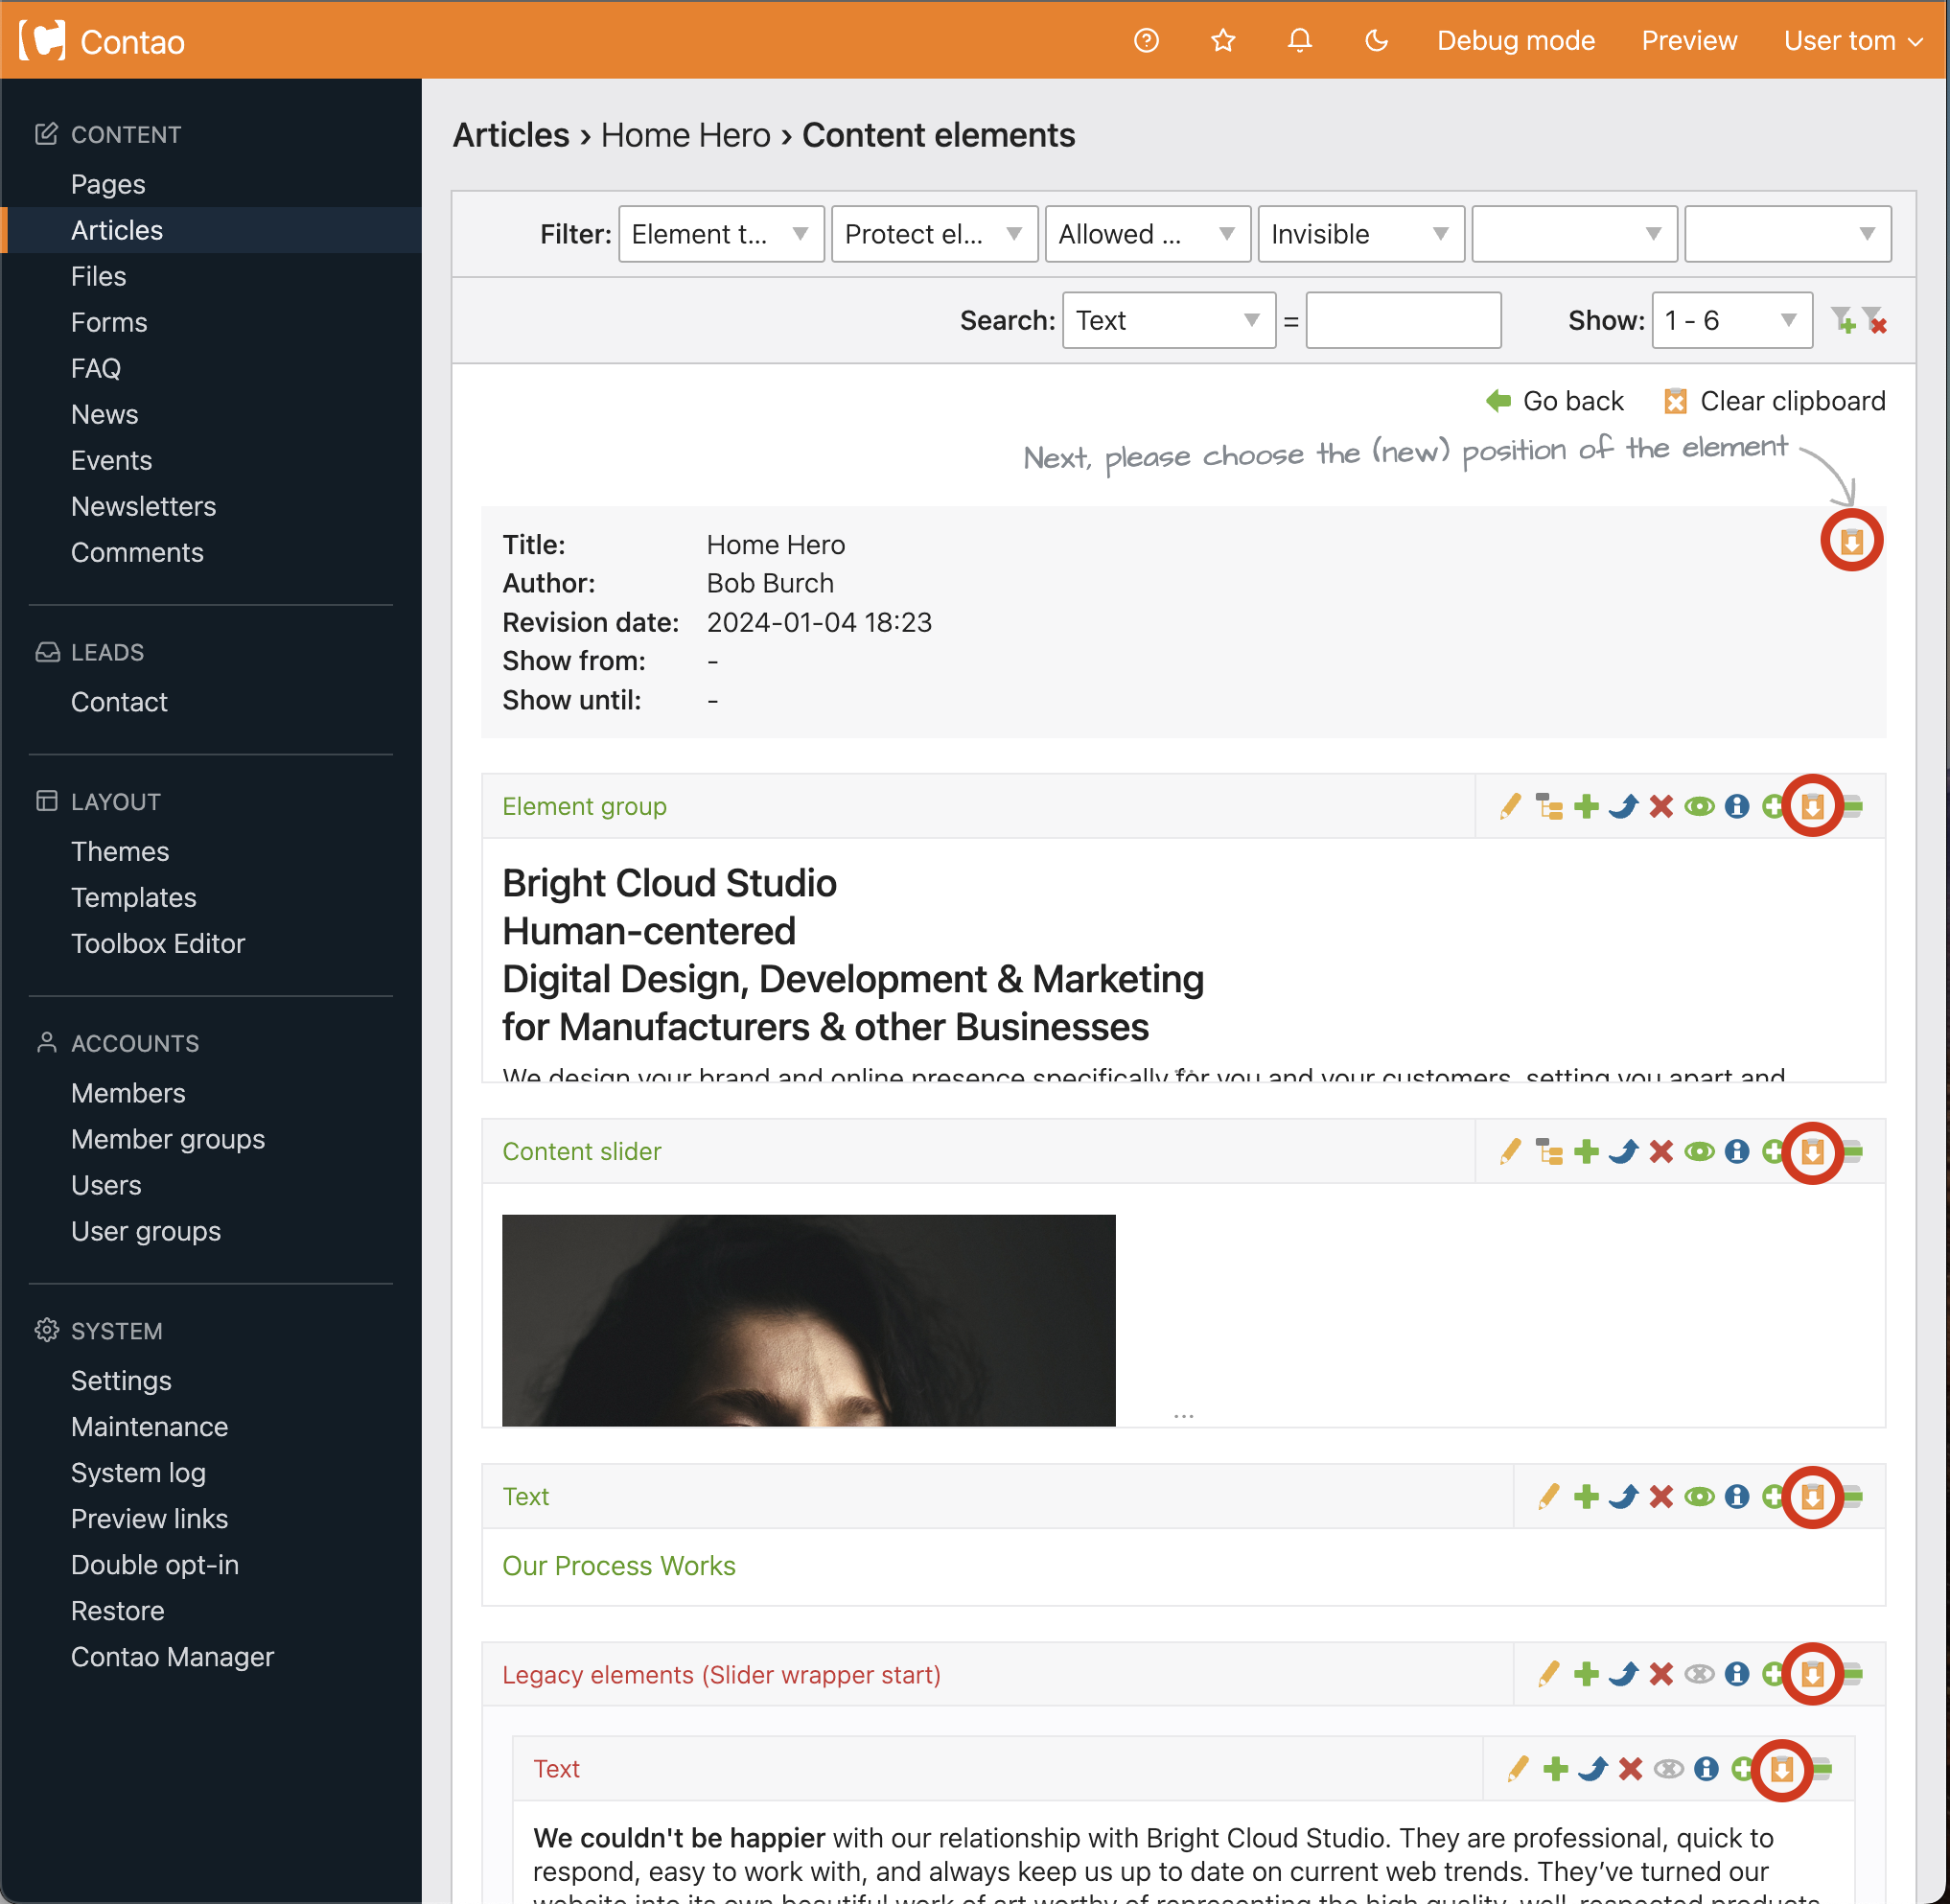
Step 4
Once you choose new, arrow icons will appear allowing you to place your new element at the top or after other elements (circled below).
Step 5
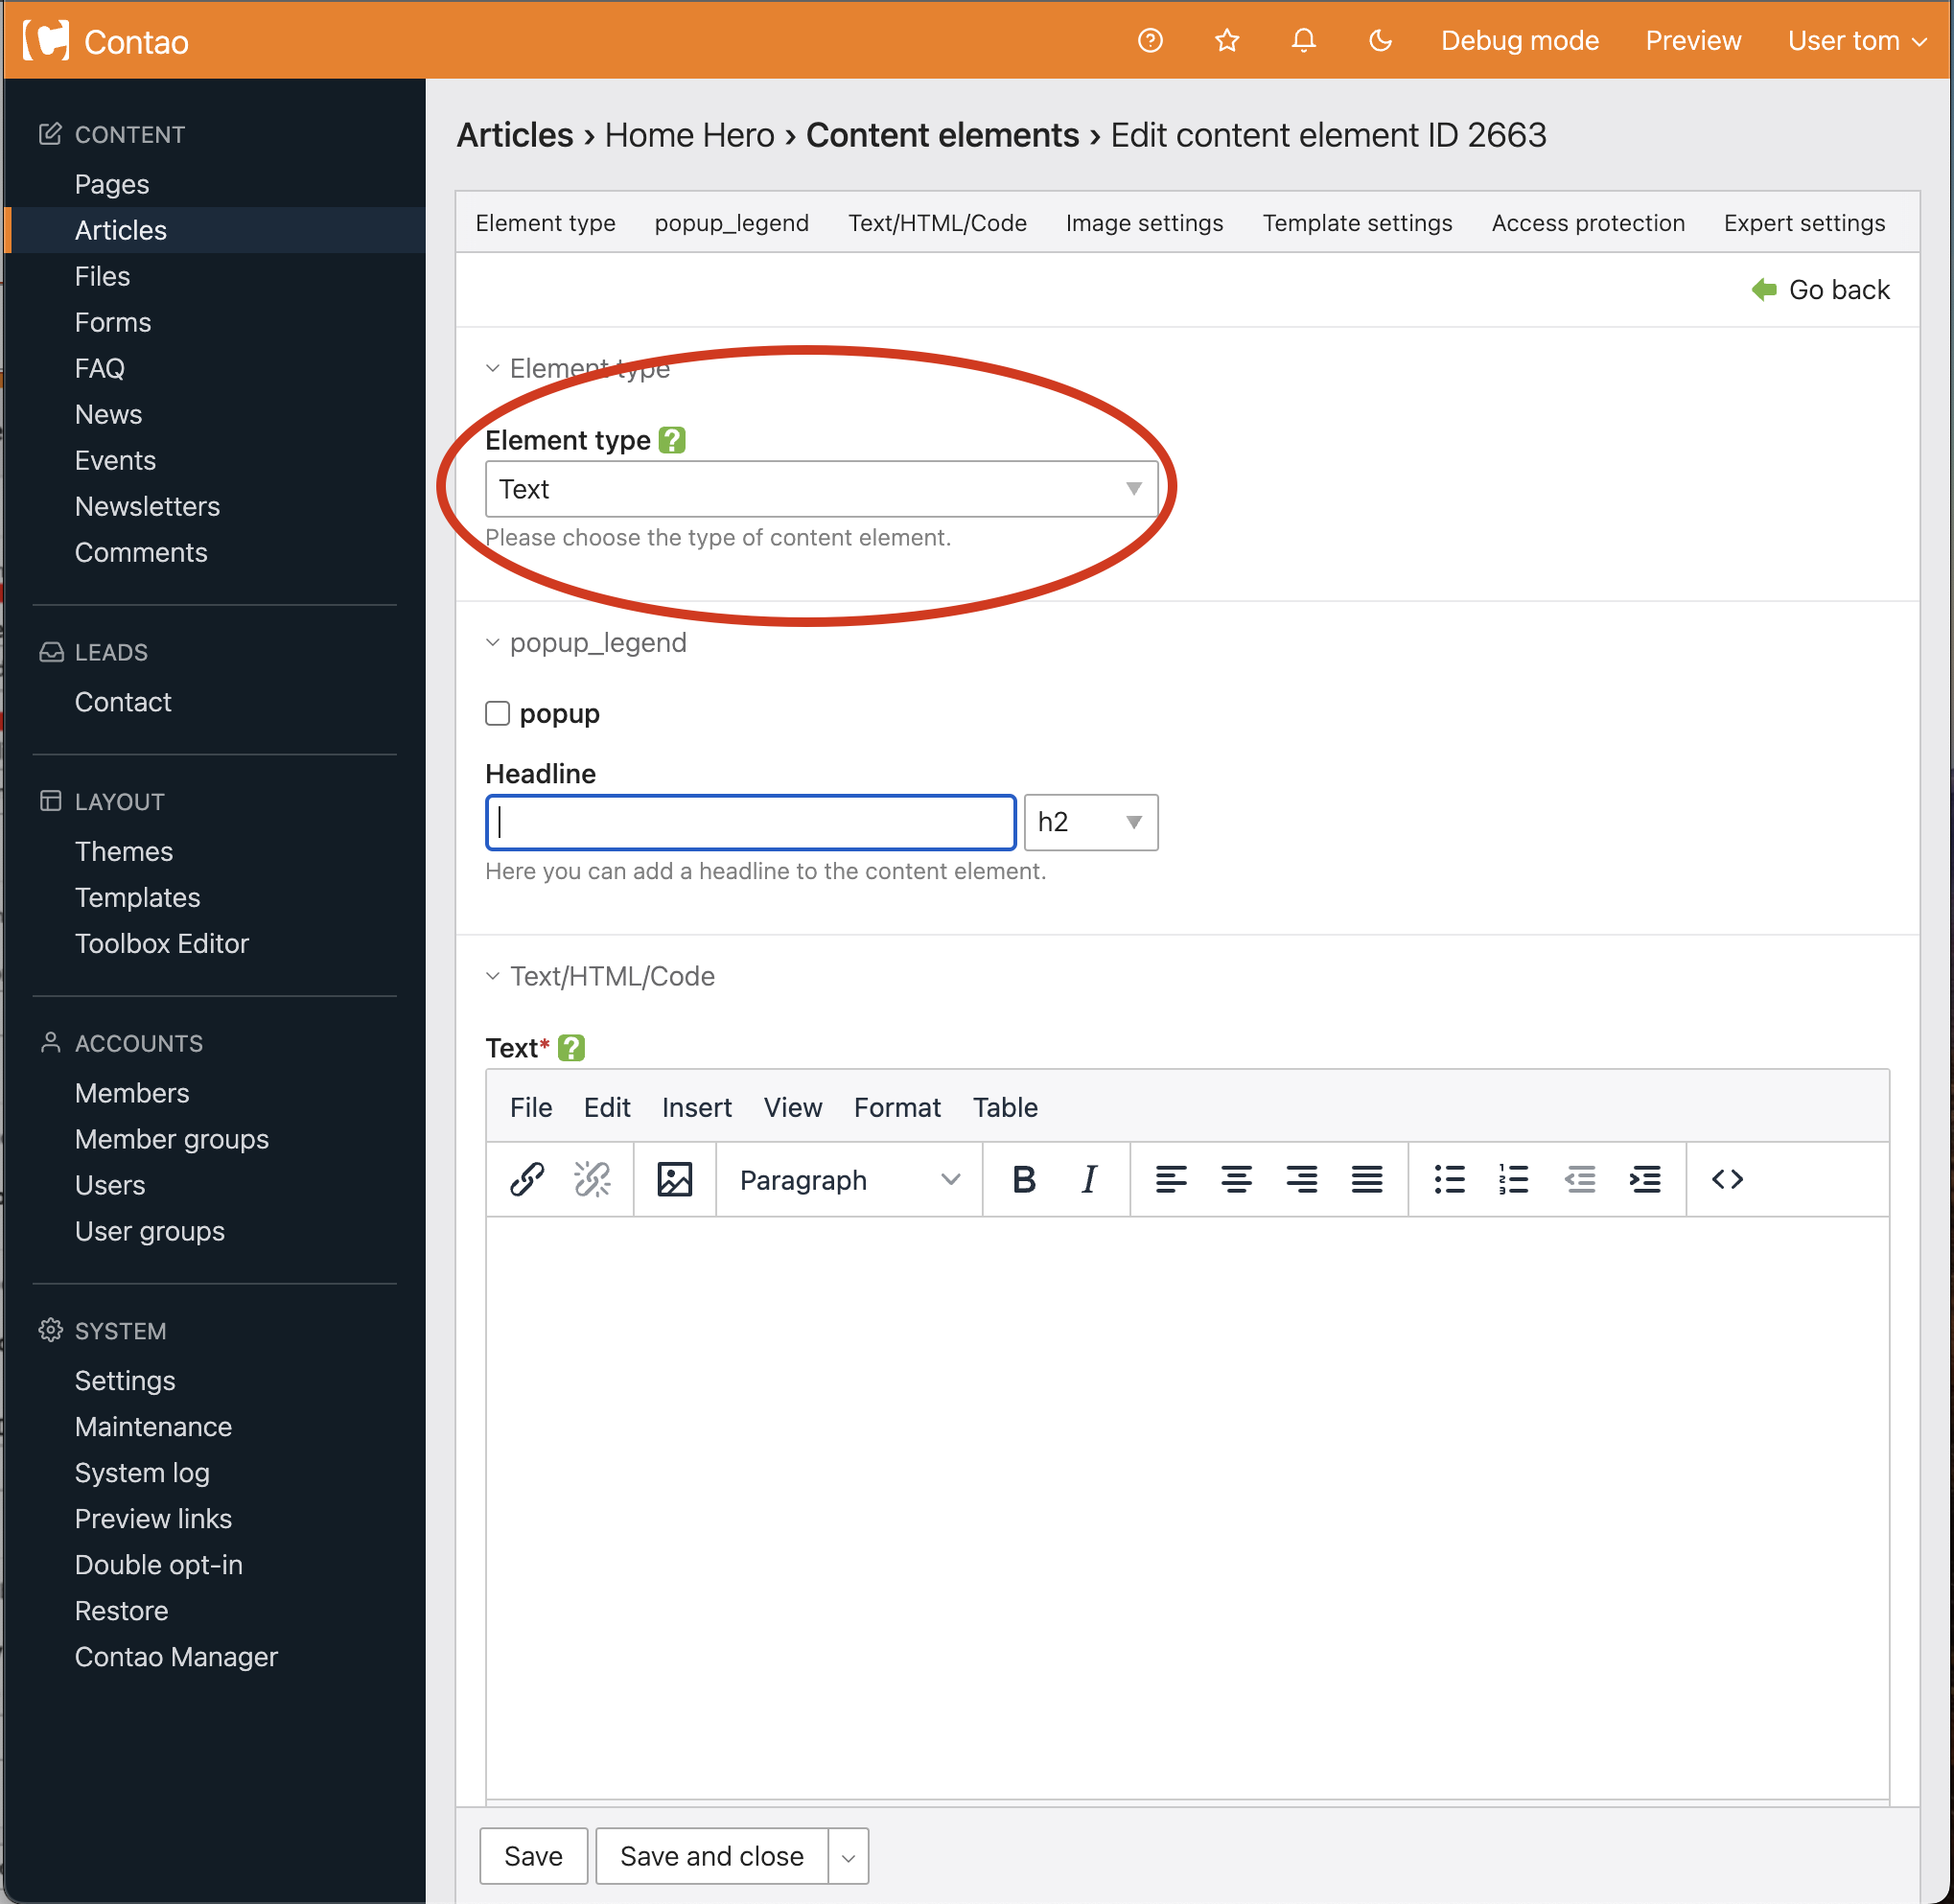
After clicking the arrow you are brought to a page to fill in the element information. Choose your Element type from the drop down menu (circled below) and choose save and close at the bottom of the page when you are finished.
Text The Text element adds a text editor to easily add text to your website without knowing HTML. It looks a lot like word processing software. You can also have a headline and image with this element which makes it the most convenient choice to use. Learn more >
Headline
The Headline element contains a stand-alone headline option. You can choose this for adding an h1, h2, h3, h4, h5, h6 element to your article. Learn more >
video coming soon
HTML
Allows you to add custom HTML code to your website. You can copy and paste into the box or write your own code. When you need HTML, the HTML element can be easier to use than managing the code in the Text editor. Learn more>
List
The List element generates a bulleted or numbered list without knowing any HTML. Use this element to quickly re-arrange and add new items to your lists.
Table
The table element generates an HTML table without needing to know any HTML code. You can click the appropriate plus symbol to create new table rows and columns.
Hyperlink
The hyperlink element creates a link to a page on your website or use it to create a link to another website. This element can be an easy way to add many links to a page without having to create them all in the text editor.
Top Link
The Top link element generates a link for jumping to the top of the page. This is widely used on many websites with Frequently Asked Questions.
Image
The Image element generates a stand-alone image. Choose your
image by selecting the source file. You can change the size of your
image and wrap text around it.
video coming soon
Gallery
The gallery element generates a photo
gallery consisting of many images. Choose the ones you want to display in your gallery by
selecting the files. There are many options for your gallery including changing the sizes of your images, adding
margins and choosing how many images show up in a row. You can also change the order your images appear in the
gallery.
Download
The Download element generates a link to one download file. This can be a PDF, Word Document, Zip file, etc. This element is an easy way to add a download to your website without having to worry about coding in the links to the file.
Downloads (Multiple Download Files)
The Downloads element works a lot like the Download element except you can add more than one file at a time. This is a great way to add a whole folder of files to your website.

 icon next to the appropriate article (circled below).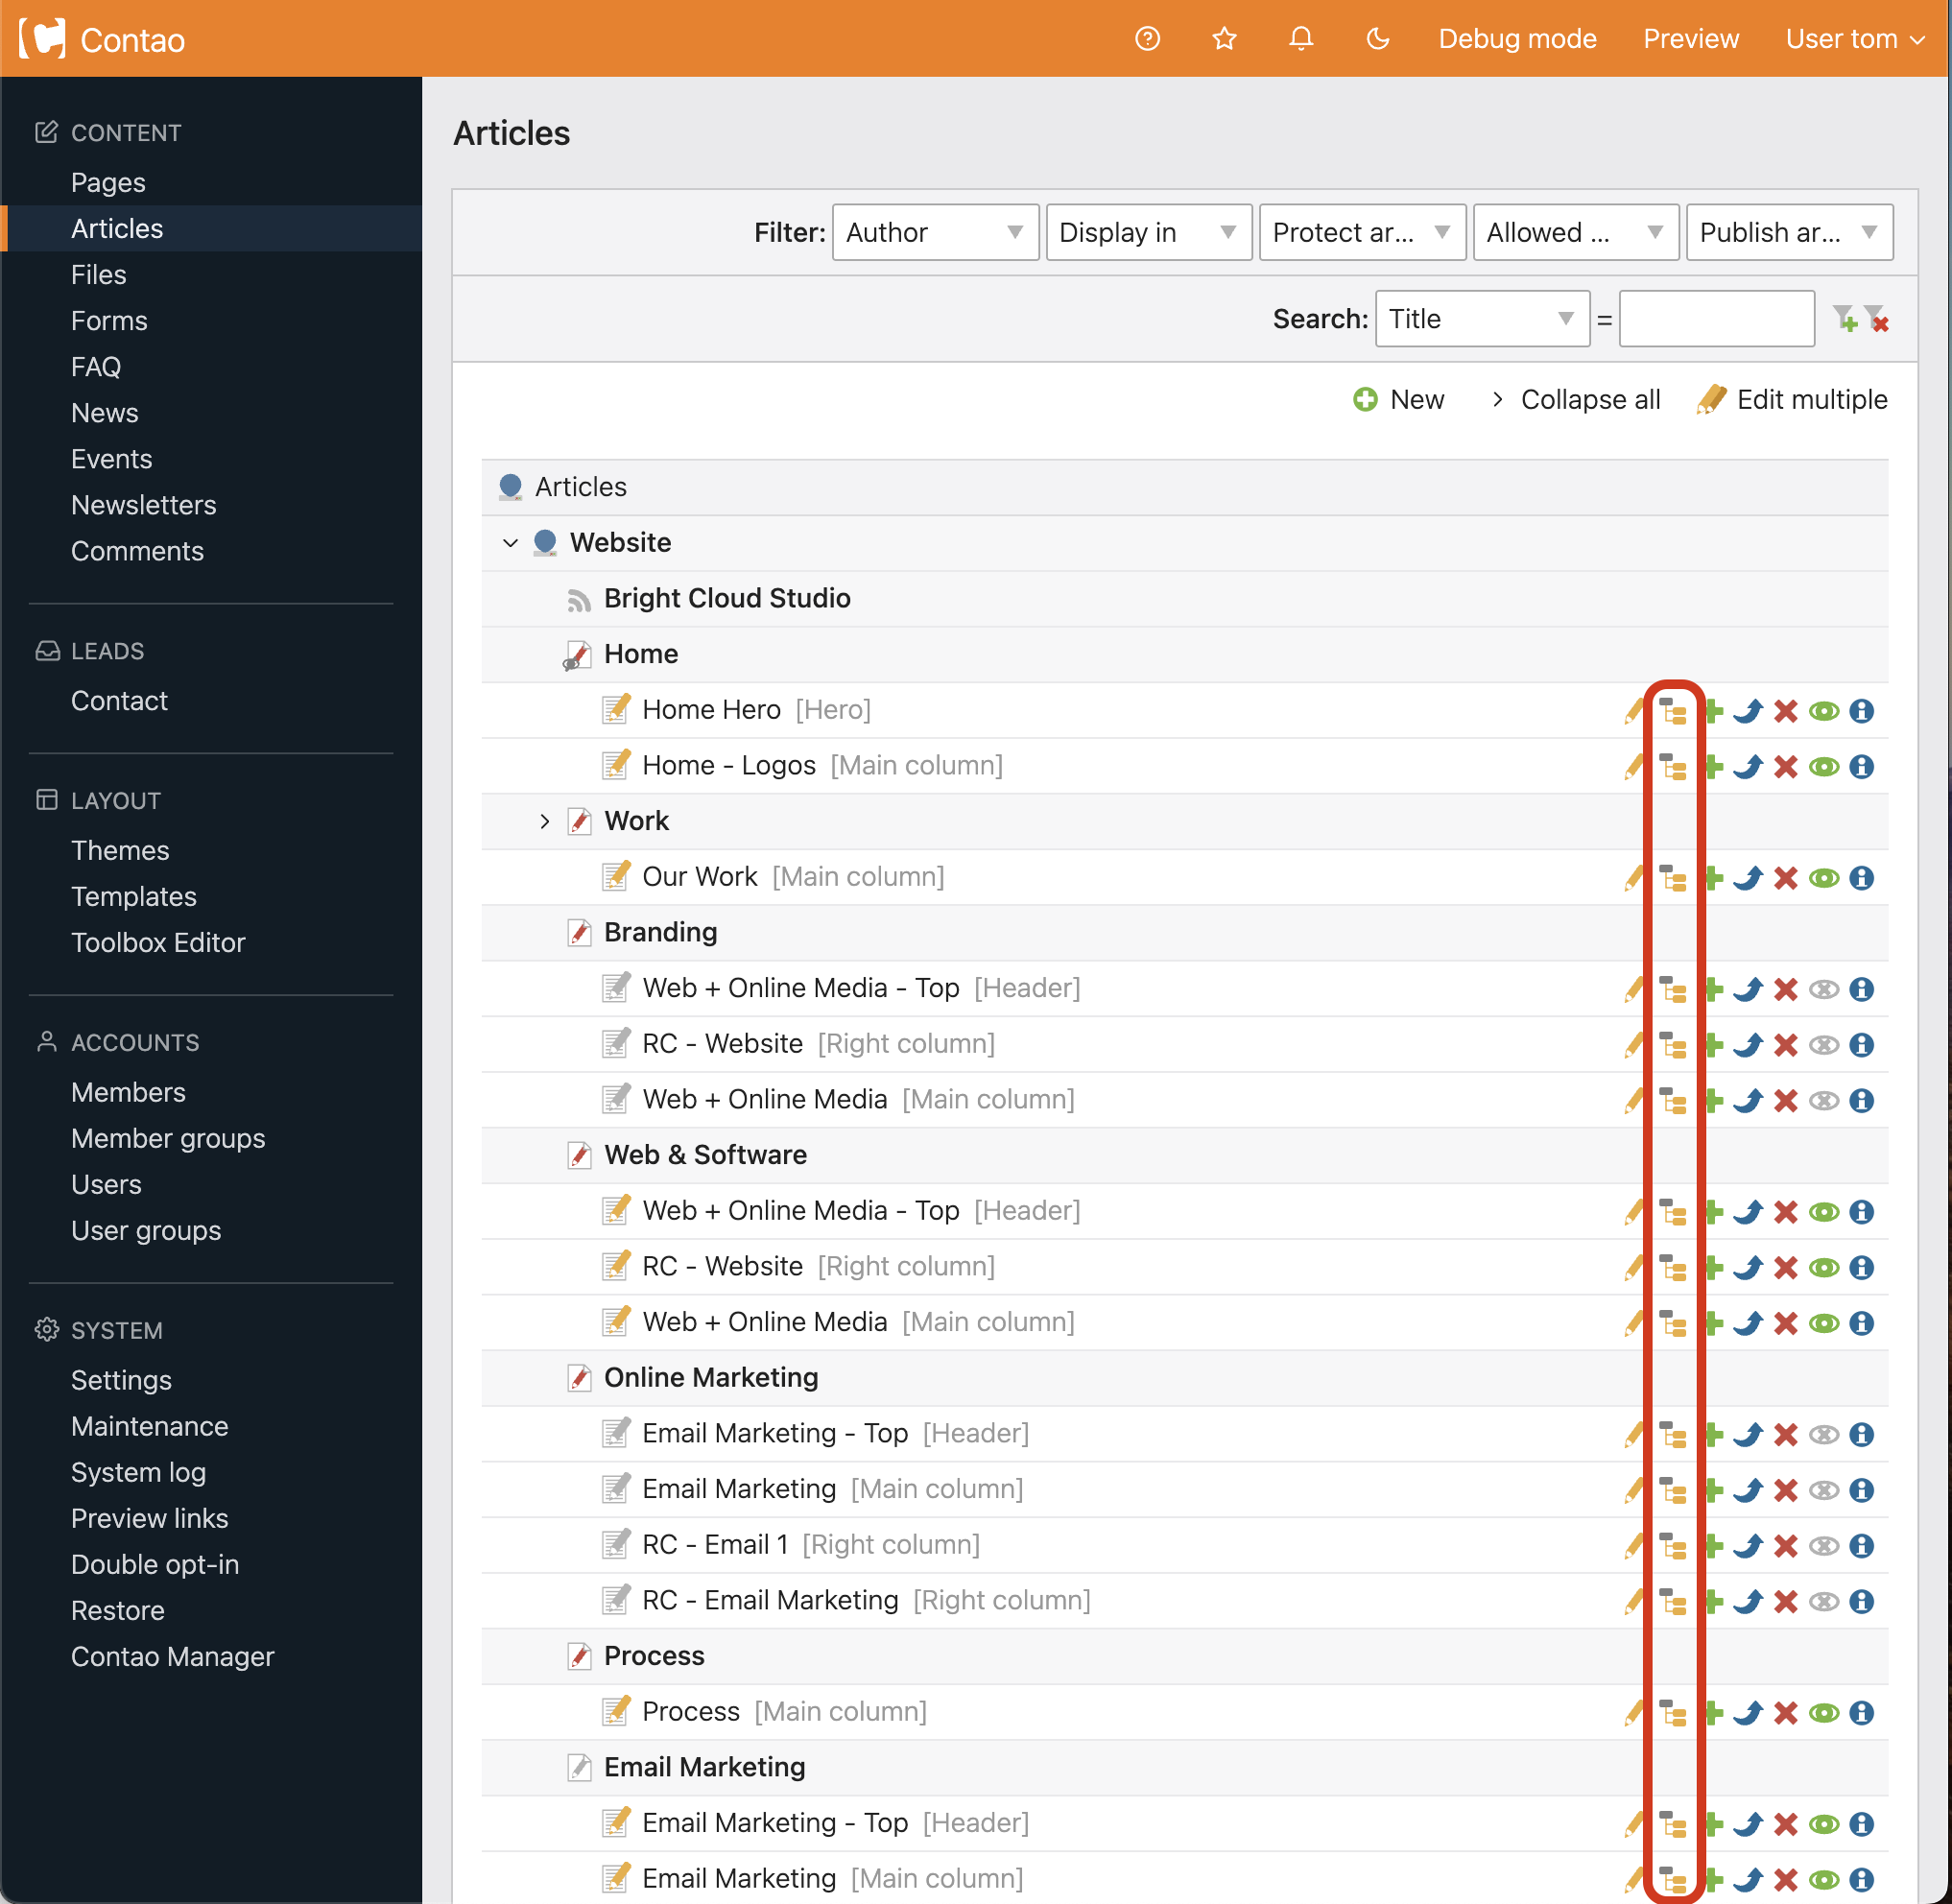


 to create new table rows and columns.